10 Best Sourdough Discard Bagels – Step by Step Tutorial
Have you been feeding your sourdough starter and staring at that jar of discard, wondering what magic you can create? Let me tell you about sourdough discard bagels—chewy, golden, and absolutely irresistible! Here’s a fun fact: bagels were traditionally boiled before baking to achieve that signature dense, chewy texture, and using sourdough discard adds an incredible tangy depth you won’t find in regular bagels.
What makes these special is how simple they are to make, taking just about 2 hours from start to finish, and they’re perfect for busy mornings or weekend brunch spreads. My family can’t get enough of them, especially when I make my everything bagel version!
If you loved my sourdough pancakes bagels recipe, you’ll absolutely adore these bagels. Trust me, once you try making bagels with your discard, you’ll never waste that precious starter again!
What Are Sourdough Discard Bagels?
Ever wondered why we call them “discard” bagels when they’re anything but discardable? It’s actually the leftover sourdough starter you’d normally toss during feeding that becomes the star ingredient here! The “discard” gets its name because you remove it to maintain your starter’s health, but honestly, it’s liquid gold for bakers.
Here’s the thing—these bagels capture that classic tangy sourdough flavor while giving you that dense, satisfying chew that makes New York bagels famous. As they say, the way to anyone’s heart is through their stomach, and these bagels prove it every single time. Ready to transform your discard into something extraordinary? Let’s dive in!
Why You’ll Love This Sourdough Discard Bagels Recipe
The Ultimate Discard Solution
These bagels are the perfect answer to that nagging guilt every sourdough baker feels when discarding starter. Instead of watching precious starter go down the drain, you’re creating artisan-quality bagels that rival any bakery. The tangy complexity from the sourdough discard adds layers of flavor that regular yeast bagels simply can’t match.
Budget-Friendly Baking
Making bagels at home saves you serious money! A dozen bakery bagels can easily cost $15-20, but making them yourself uses simple pantry staples plus that “free” discard you already have. You’re looking at maybe $3-4 for a full batch of 8-10 bagels. Plus, you control exactly what goes into them—no preservatives, no mystery ingredients.
Endless Flavor Possibilities
From classic everything seasoning to sweet cinnamon-raisin, these bagels are your blank canvas. Top them with sesame seeds, poppy seeds, or za’atar for something different. The slight tang from the sourdough pairs beautifully with both savory cream cheese spreads and sweet jams. If you enjoyed my sourdough discard crackers, you’ll love how versatile this dough is for creating different flavor profiles. Get creative and make them your own!
How to Make Sourdough Discard Bagels
Quick Overview
These bagels deliver authentic New York-style texture with a delightful sourdough twist. The process is surprisingly straightforward—mix, knead, shape, boil, and bake. What sets them apart is the boiling step, which creates that signature shiny crust and chewy interior. The sourdough discard adds complexity without requiring a long fermentation time, making these faster than traditional sourdough breads.
Time Breakdown:
- Prep Time: 30 minutes
- First Rise: 1 hour
- Shaping & Second Rise: 30 minutes
- Boiling & Baking: 25 minutes
- Total Time: 2 hours 25 minutes
- Yield: 8-10 bagels
Key Ingredients for Sourdough Discard Bagels
For the Dough:
- 1 cup (240g) sourdough discard (unfed, at room temperature)
- 3½ cups (420g) bread flour (plus extra for kneading)
- 1 cup (240ml) warm water (around 100°F)
- 2 tablespoons (25g) granulated sugar
- 2 teaspoons (10g) salt
- 2 teaspoons (7g) instant yeast
- 1 tablespoon (15ml) olive oil or melted butter
For Boiling:
- 8 cups water
- 2 tablespoons (30g) honey or brown sugar
- 1 tablespoon (15g) baking soda
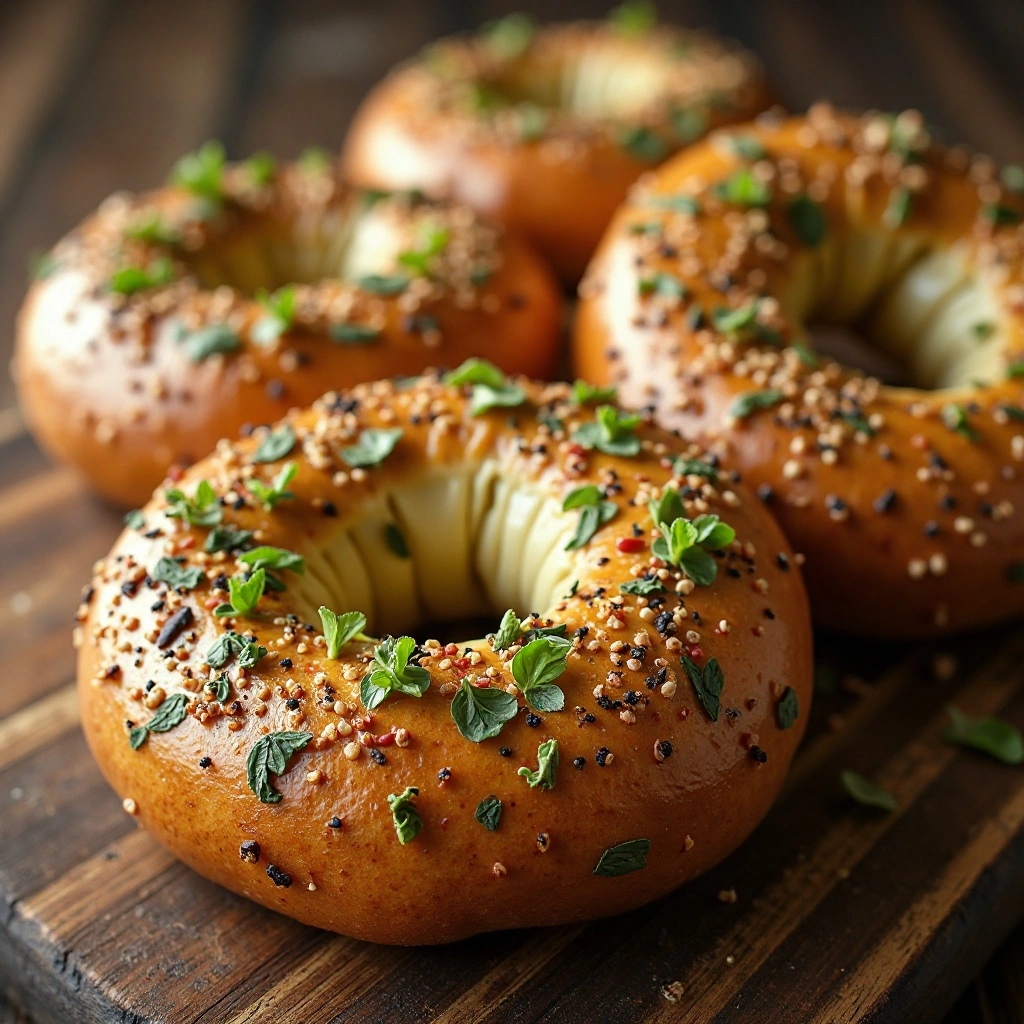
For Toppings:
- Everything bagel seasoning
- Sesame seeds
- Poppy seeds
- Coarse sea salt
- Dried minced garlic and onion
- Cinnamon sugar (for sweet bagels)
Step-by-Step Instructions
How do I mix the bagel dough properly?
Start by combining your sourdough discard, warm water, and sugar in a large mixing bowl. Stir them together until the sugar dissolves—this creates a nice environment for the yeast to activate. Add the instant yeast and let it sit for about 5 minutes. You’ll see it get a bit foamy on top, which means your yeast is alive and ready to work its magic.
Add the flour and salt to your wet ingredients. Using a wooden spoon or your hands, mix everything until a shaggy dough forms. It won’t look pretty yet, and that’s completely normal! The dough will be quite stiff and dense—this is exactly what you want for bagels.
How do I knead bagel dough to the right consistency?
Turn your dough out onto a lightly floured surface. Now comes the workout part! Knead the dough for 10-12 minutes by pushing it away with the heel of your hand, folding it back over itself, and rotating it a quarter turn. Keep repeating this motion.
The dough should transform from sticky and rough to smooth and elastic. It might feel tough at first—bagel dough is much stiffer than bread dough. If it’s sticking to your hands or the counter, add tiny amounts of flour, but resist adding too much. You want the dough to be firm but not dry.
To test if you’ve kneaded enough, poke the dough with your finger. If it slowly springs back, you’re good to go! Drizzle a bit of olive oil in your bowl, place the dough inside, and turn it to coat all sides.
How long should I let the dough rise?
Cover your bowl with a damp kitchen towel or plastic wrap and place it somewhere warm—I like to put mine on top of the refrigerator or in a turned-off oven with the light on. Let it rise for about 1 hour, or until it’s roughly doubled in size.
Here’s a tip: bagel dough rises slower than regular bread dough because it’s denser. Don’t panic if it doesn’t fully double—even a 50% increase is fine. The dough should feel puffy and soft when you gently press it.
How do I shape perfect bagels?
Once risen, punch down your dough and turn it onto a clean work surface. Divide it into 8-10 equal pieces—I like to use a kitchen scale for precision, aiming for about 110-120g per bagel.
Shape each piece into a smooth ball by tucking the edges underneath and rolling it against the counter. Let these balls rest for 5 minutes—this relaxes the gluten and makes shaping easier.
Now for the fun part! There are two methods to shape bagels:
Method 1 (The Poke Method): Press your thumb through the center of each ball, then gently stretch the hole by rotating the dough around your fingers. Aim for a hole about 2 inches wide—remember, it’ll shrink during boiling and baking.
Method 2 (The Roll Method): Roll each ball into an 8-inch rope, wrap it around your hand, and pinch the ends together firmly. Roll the seam on the counter to seal it completely.
Place your shaped bagels on a parchment-lined baking sheet, cover them loosely with a towel, and let them rest for 20-30 minutes. They’ll puff up slightly but won’t double.
How do I boil bagels correctly?
This step is crucial for authentic texture! Fill a large pot with 8 cups of water and bring it to a rolling boil. Add the honey (or brown sugar) and baking soda—the baking soda helps create that beautiful golden-brown crust.
Reduce heat to maintain a gentle boil. Carefully lower 2-3 bagels at a time into the water using a slotted spoon or spider. Don’t overcrowd the pot!
Boil each bagel for 1 minute per side. They’ll puff up and float to the surface—this is perfect. The boiling gelatinizes the starches on the outside, creating that characteristic chewy crust.
Remove the bagels with your slotted spoon and place them back on the parchment-lined baking sheet. Work quickly so they don’t get waterlogged.
How do I apply toppings to bagels?
Right after boiling, while the bagels are still wet, is the perfect time to add toppings. The moisture helps everything stick beautifully.
Sprinkle your chosen toppings generously over the top of each bagel. For everything bagels, I use about a tablespoon of seasoning per bagel. Press the toppings gently into the surface so they don’t fall off during baking.
If you’re making different varieties, this is your moment to customize! Try sesame on half and poppy seeds on the other half. Get creative!
How do I bake bagels to perfection?
Preheat your oven to 425°F (220°C) while you’re boiling the bagels. Place a rack in the middle position for even baking.
Once all bagels are boiled and topped, slide your baking sheet into the oven. Bake for 20-25 minutes, rotating the pan halfway through for even browning.
The bagels are done when they’re deeply golden brown on top and sound hollow when you tap the bottom. The internal temperature should reach about 200°F if you want to be precise.
Let them cool on a wire rack for at least 10 minutes before slicing. I know it’s tempting to cut into them right away, but patience pays off! The interior continues cooking slightly as they cool, and cutting too soon can make them gummy.
What to Serve Sourdough Discard Bagels With
These bagels are incredibly versatile! For breakfast, slather them with cream cheese—plain, chive, or veggie cream cheese all work beautifully. Add smoked salmon, capers, red onion, and tomato slices for a classic bagel and lox experience.
For lunch, they make outstanding sandwiches. Try turkey, avocado, lettuce, and tomato, or go vegetarian with hummus, cucumber, sprouts, and roasted red peppers.
Pair them with a steaming cup of coffee or fresh orange juice for breakfast. For brunch, serve alongside scrambled eggs, fresh fruit salad, and hash browns.
Sweet bagels like cinnamon-raisin are phenomenal with butter and jam or honey. Try them toasted with almond butter and sliced bananas too!
Don’t forget the classics: peanut butter and jelly, egg and cheese, or even just warm with salted butter melting into all those nooks and crannies.
Top Tips for Perfecting Sourdough Discard Bagels
Use Bread Flour for Best Results
Bread flour has higher protein content than all-purpose flour, creating more gluten development. This gives you that signature chewy texture. If you must use all-purpose flour, your bagels will be slightly softer but still delicious.
Don’t Skip the Boiling Step
I know it seems fussy, but boiling is non-negotiable for authentic bagels! This step gelatinizes the exterior starches, creating a shiny crust and preventing the bagels from rising too much in the oven. Without boiling, you’ll essentially have round bread rolls.
Make the Dough Stiff
Bagel dough should be noticeably stiffer than bread dough. If your dough feels too soft or sticky after kneading, work in a bit more flour. The dough should barely stick to your hands when you’re done kneading.
Use Fresh Yeast
Even though we’re using sourdough discard, we still need instant yeast for a reasonable rise time. Check your yeast’s expiration date—old yeast won’t give you the lift you need.
Size Matters for the Holes
Make those center holes bigger than you think necessary—about 2 inches in diameter. They’ll shrink significantly during boiling and baking. Too small, and you’ll end up with filled-in holes.
Control Your Water Temperature
Water that’s too hot will kill the yeast; too cold and it won’t activate properly. Aim for around 100°F—it should feel warm but not hot when you dip your finger in.
Adjust Discard Hydration
If your sourdough discard Bagels is very thick, you might need to add a tablespoon or two more water. If it’s quite liquidy, you may need extra flour. The final dough should be firm and smooth.
Storing and Reheating Tips
Room Temperature Storage
Fresh bagels are best enjoyed within 24 hours. Store them in a paper bag on your counter—this keeps the crust from getting too soft while preventing them from drying out. Don’t use plastic bags for fresh bagels; they trap moisture and make the crust soggy.
Refrigerator Storage
Refrigeration actually dries out bagels faster. I don’t recommend it unless you’re planning to toast them anyway. If you must refrigerate, wrap them tightly in plastic wrap and use within 2-3 days.
Freezer Storage
This is my preferred method for long-term storage! Let bagels cool completely, then slice them in half (this makes toasting easier later). Wrap each bagel individually in plastic wrap, then place all wrapped bagels in a freezer-safe zip-top bag. Remove as much air as possible before sealing.
Frozen bagels stay fresh for up to 3 months. Label your bag with the date so you remember when you made them.
How to Reheat Bagels
For room temperature bagels: Slice and toast them in a toaster or toaster oven until warmed through and slightly crispy on the edges.
For frozen bagels: You can toast them directly from frozen! Just add an extra minute to your toasting time. Alternatively, let them thaw at room temperature for 30 minutes, then toast as usual.
For oven reheating: Wrap bagels in aluminum foil and warm in a 350°F oven for 10-15 minutes. This method keeps them soft rather than crispy.
Pro tip: Sprinkle a few drops of water on the bagel before reheating—this creates steam and keeps them from drying out.
10 Creative Sourdough Discard Bagel Ideas
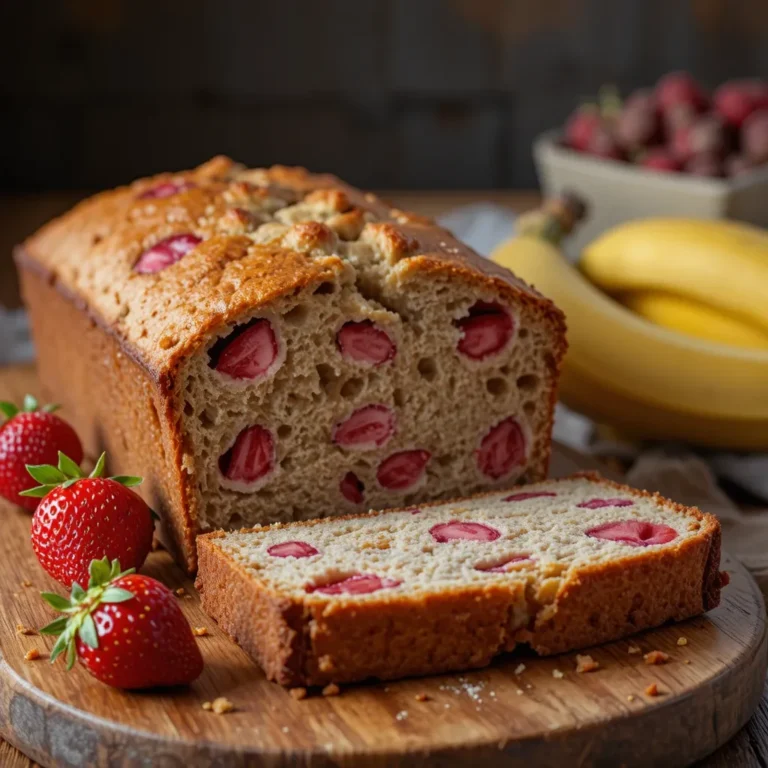
1. Sourdough Discard Strawberry Bagels
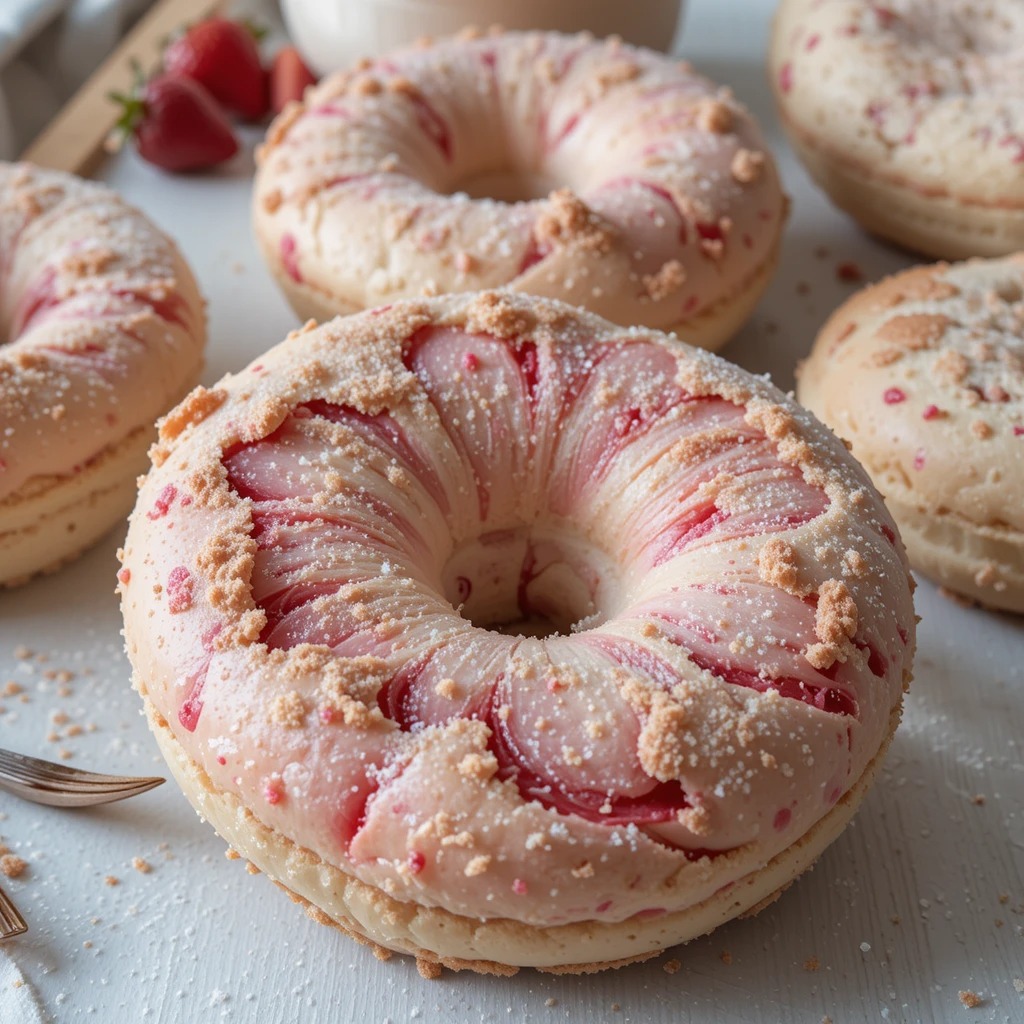
Transform your bagels into pink-hued breakfast showstoppers with fresh strawberry puree worked right into the dough. The natural fruit adds moisture and a delicate sweetness that pairs wonderfully with the sourdough tang, creating a balanced flavor profile that’s neither too fruity nor too sour. These are particularly stunning when sliced to reveal swirls of pale pink throughout the crumb.
Key Ingredients:
- 3/4 cup fresh strawberry puree (from about 1 cup berries)
- Reduce water to 1/2 cup to compensate for puree moisture
- Optional: 1/2 teaspoon vanilla extract
- Raw sugar for sprinkling (adds sparkle and crunch)
Method Overview: Puree hulled strawberries until completely smooth, then mix with your discard before adding dry ingredients. The dough will have a beautiful blush color. Since fruit puree adds extra liquid, you’ll need less water than the base recipe—start with half and add more only if the dough seems dry. Shape and boil as usual, then dust the wet tops with raw sugar instead of savory toppings for a bakery-style finish.
Flavor-Specific Tips: Peak-season strawberries give the deepest color and best flavor. Out of season, add a drop of beet juice for richer pink hues without affecting taste. The berries’ natural pectin helps create an exceptionally tender interior texture. These bagels pair beautifully with honey butter or mascarpone cheese mixed with lemon zest.
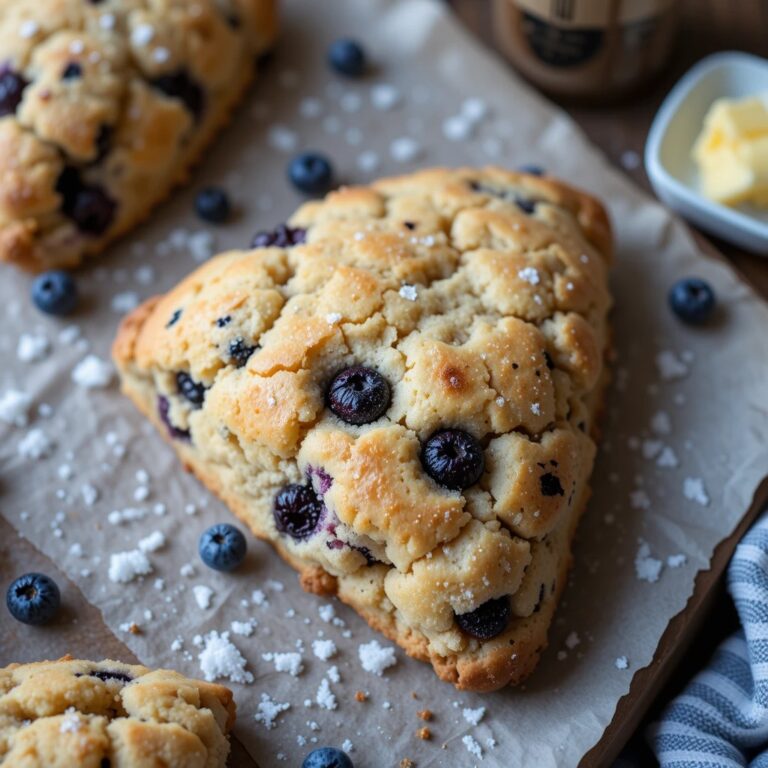
2. Sourdough Discard Blueberry Bagels
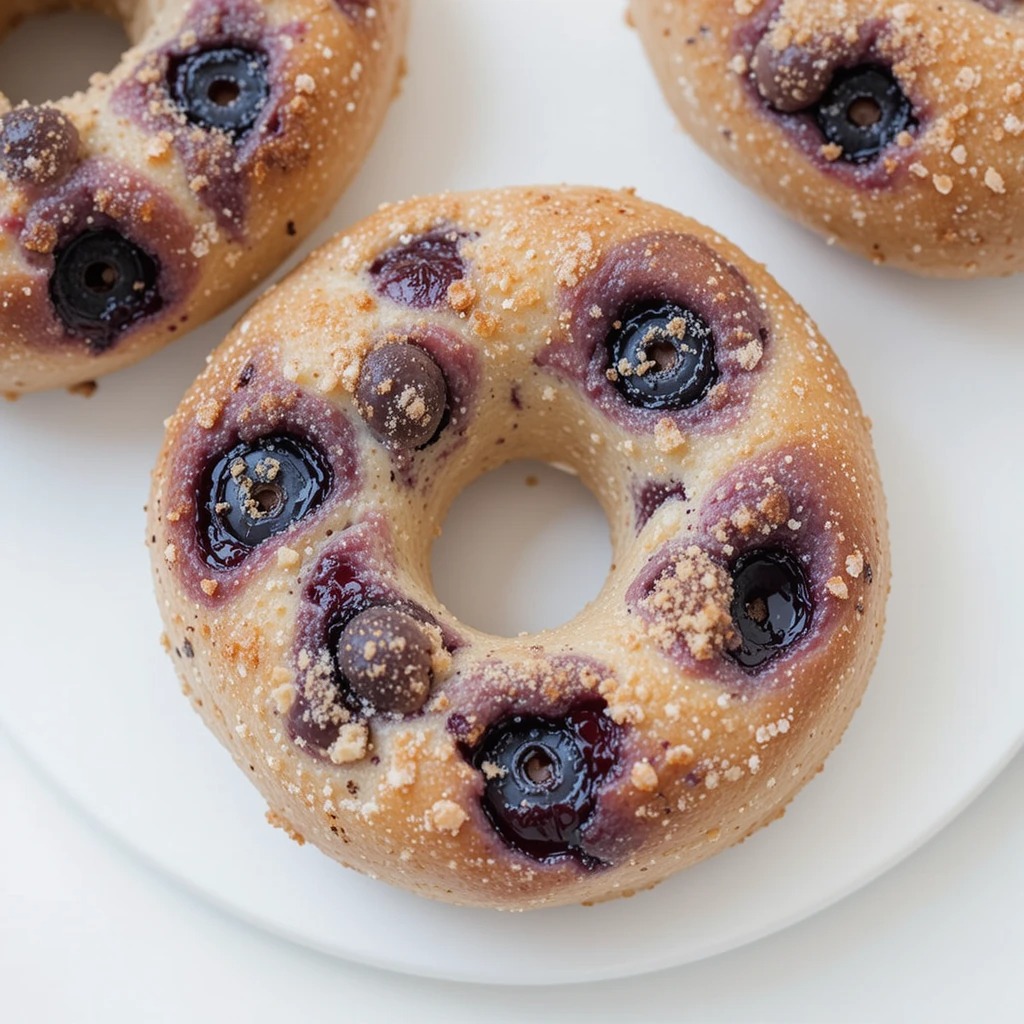
Scattered pockets of jammy blueberries create little bursts of sweetness in every bite of these gorgeous bagels. Unlike strawberries which puree into the dough, whole blueberries maintain their shape and create dramatic purple-blue streaks as they soften during baking. The result is a more rustic, artisan appearance with intense fruit flavor concentrated in each berry pocket.
Key Ingredients:
- 1 1/4 cups whole blueberries (fresh or frozen—do not thaw if frozen)
- 1 tablespoon lemon juice
- 1 extra tablespoon flour for tossing berries
- Coarse sugar for topping
Method Overview: Toss berries lightly in flour to prevent sinking, then fold them into your finished dough just before the first rise. Handle gently to keep berries intact—a few will burst and create those beautiful purple streaks, but most should stay whole. During boiling, some berries may peek through the surface and caramelize slightly in the oven, adding extra flavor. Top with coarse sugar while wet from boiling for textural contrast.
Flavor-Specific Tips: Frozen berries actually work better here since they’re firmer and less likely to completely break down. If using fresh berries, choose smaller ones that distribute more evenly. The lemon juice brightens the berry flavor and prevents oxidation. Avoid over-mixing once berries are added—10-15 gentle folds is plenty. These are phenomenal toasted with ricotta cheese drizzled with honey.
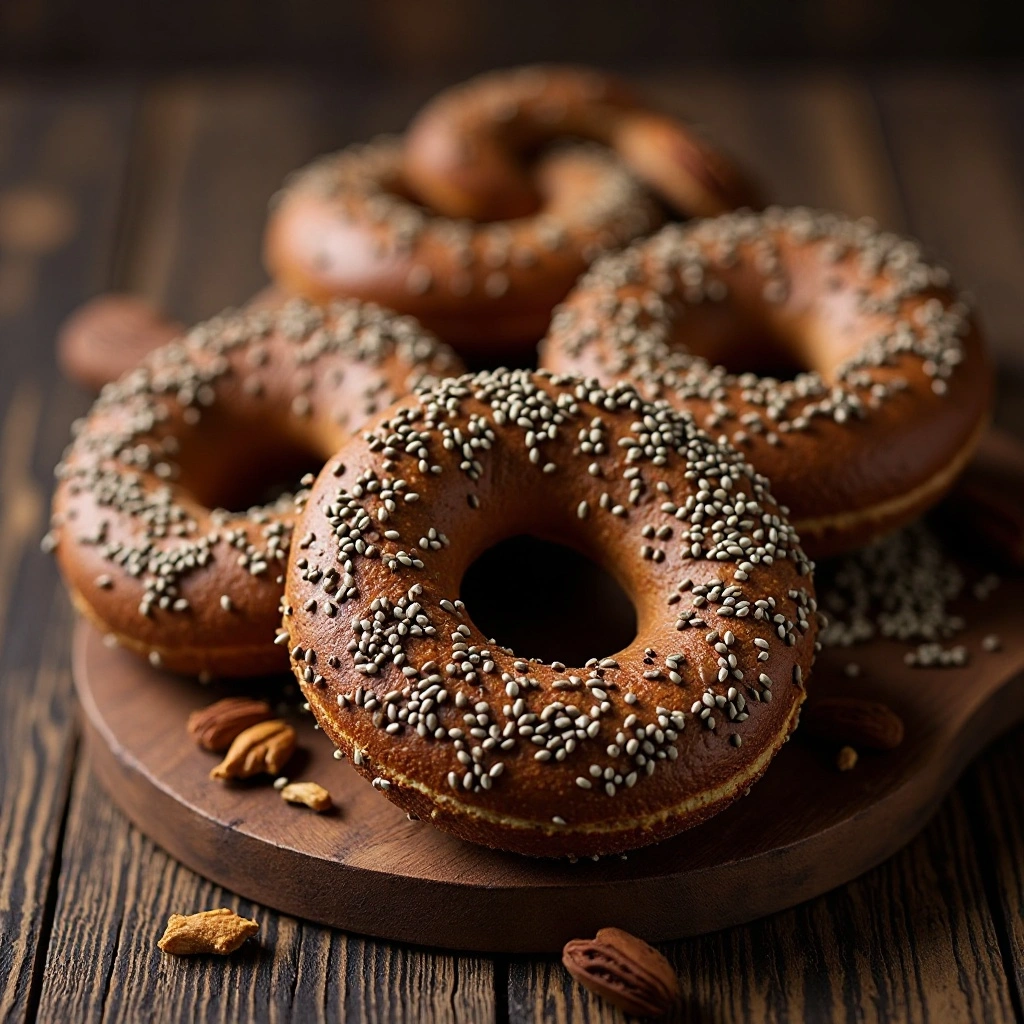
3. Classic Everything Bagels
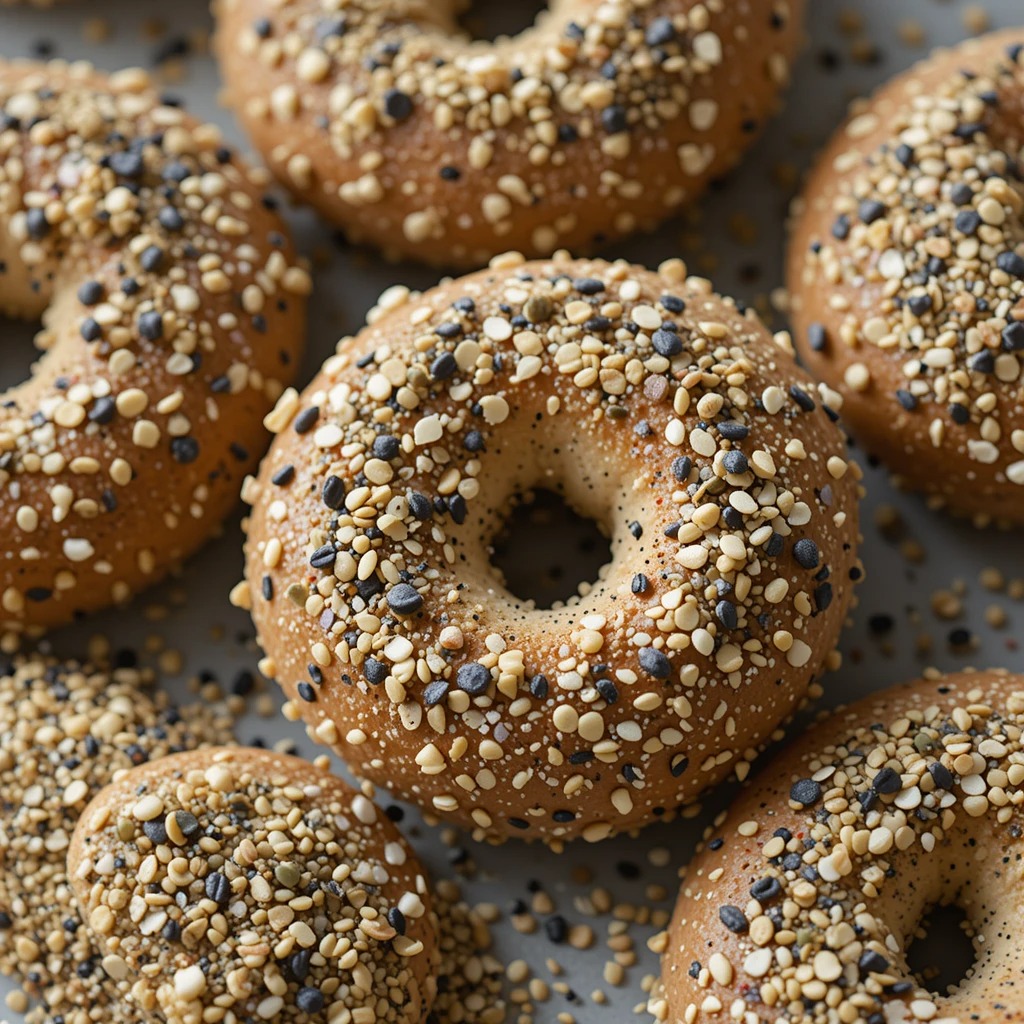
The gold standard! Mix equal parts sesame seeds, poppy seeds, dried minced garlic, dried minced onion, and coarse sea salt. This combination creates an addictive savory flavor that pairs with literally any topping. Make a big batch of everything seasoning and keep it in a jar—you’ll use it on avocado toast, salads, and roasted vegetables too!
4. Cinnamon Raisin Swirl Bagels
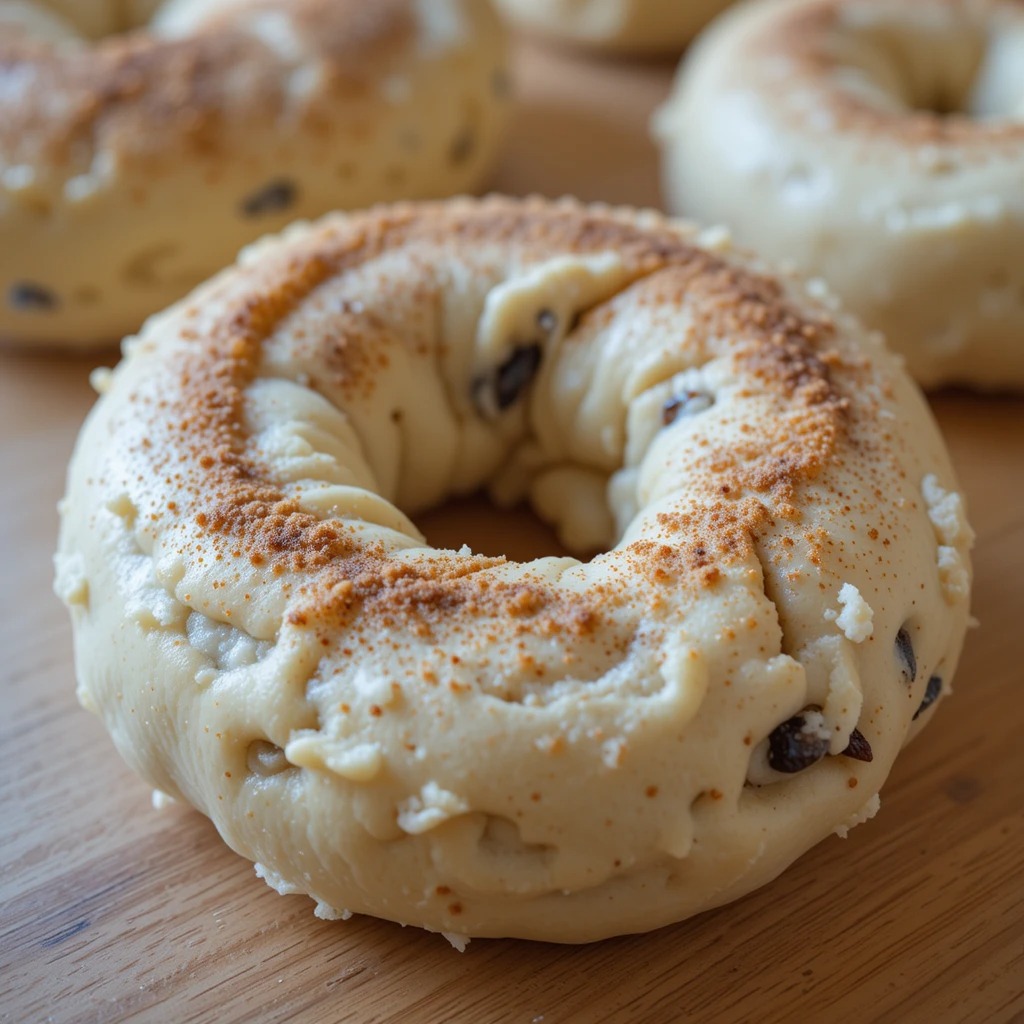
Add 1 cup of raisins and 2 teaspoons of cinnamon to your dough during the final minute of kneading. After boiling, brush the tops with melted butter and sprinkle with cinnamon sugar (1/4 cup sugar mixed with 1 tablespoon cinnamon). These are incredible toasted with cream cheese or just butter.
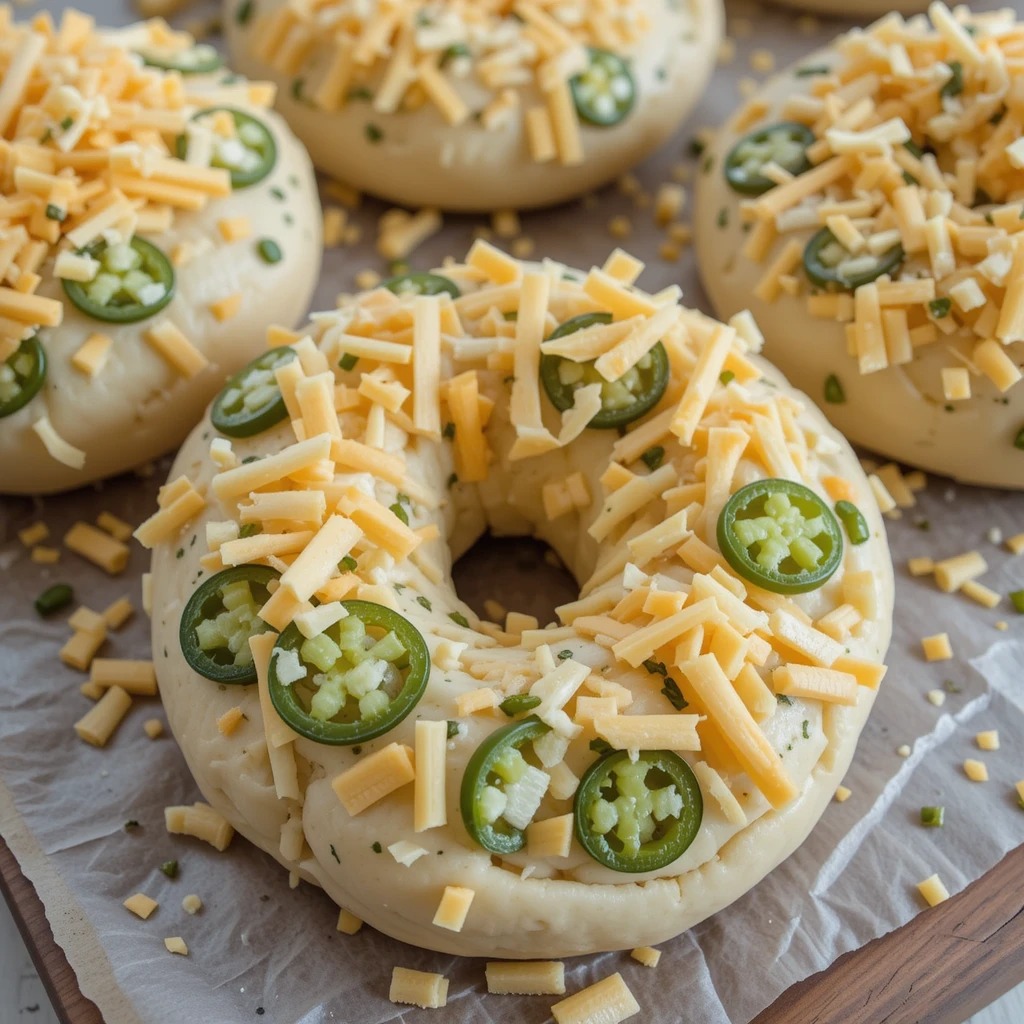
5. Jalapeño Cheddar Bagels
Dice 2-3 jalapeños (seeds removed for less heat) and fold them into the dough along with 1 cup of shredded sharp cheddar cheese. After boiling, top with extra shredded cheese. The spicy-savory combination is amazing for breakfast sandwiches with eggs.
6. Asiago Cheese Bagels
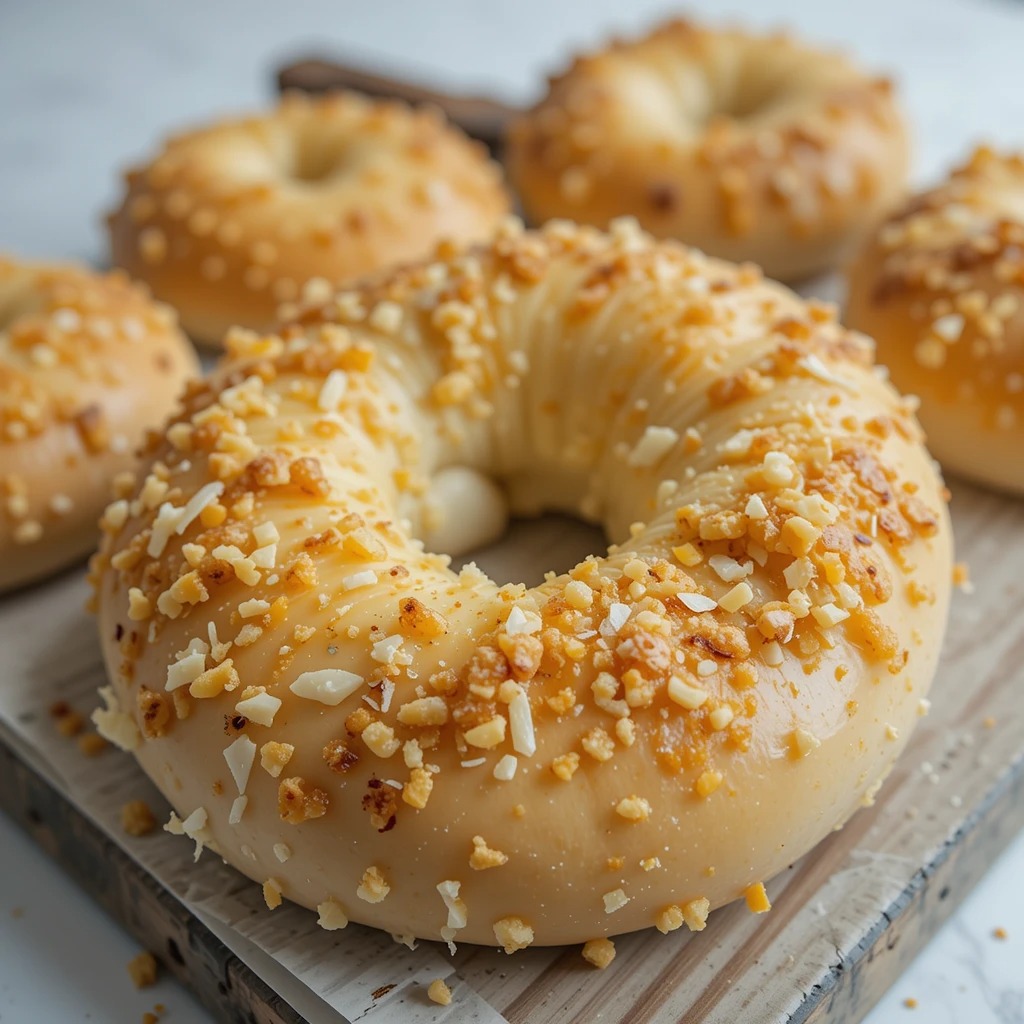
Work 1 cup of grated Asiago cheese into the dough during kneading. After boiling, press additional Asiago onto the tops. The cheese gets beautifully crispy and golden in the oven, creating pockets of salty, nutty flavor.
7. Pumpernickel Bagels
Replace 1/2 cup of the bread flour with pumpernickel or dark rye flour. Add 2 tablespoons of cocoa powder and 2 tablespoons of molasses to the dough. Top with caraway seeds after boiling. These dark, slightly sweet bagels are traditional favorites!
8. Za’atar Bagels
After boiling, brush the tops with olive oil and sprinkle generously with za’atar spice blend (a Middle Eastern mix of thyme, oregano, sesame seeds, and sumac). These have a unique, aromatic flavor that’s fantastic with labneh or hummus.
9. Chocolate Chip Bagels
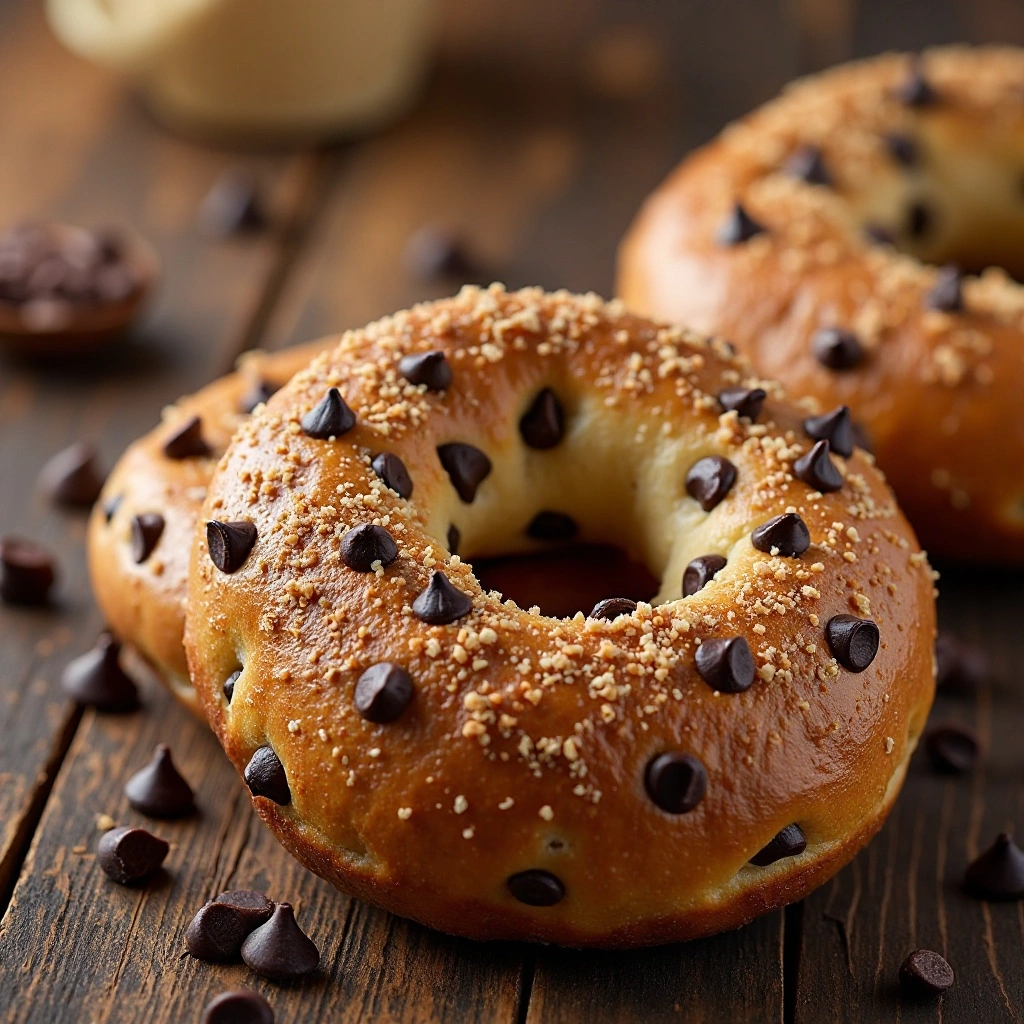
Fold 3/4 cup of chocolate chips into the dough. You can use semi-sweet, dark, or even white chocolate chips. After boiling, sprinkle the tops with coarse sugar. Toast these and spread with peanut butter for an indulgent treat!
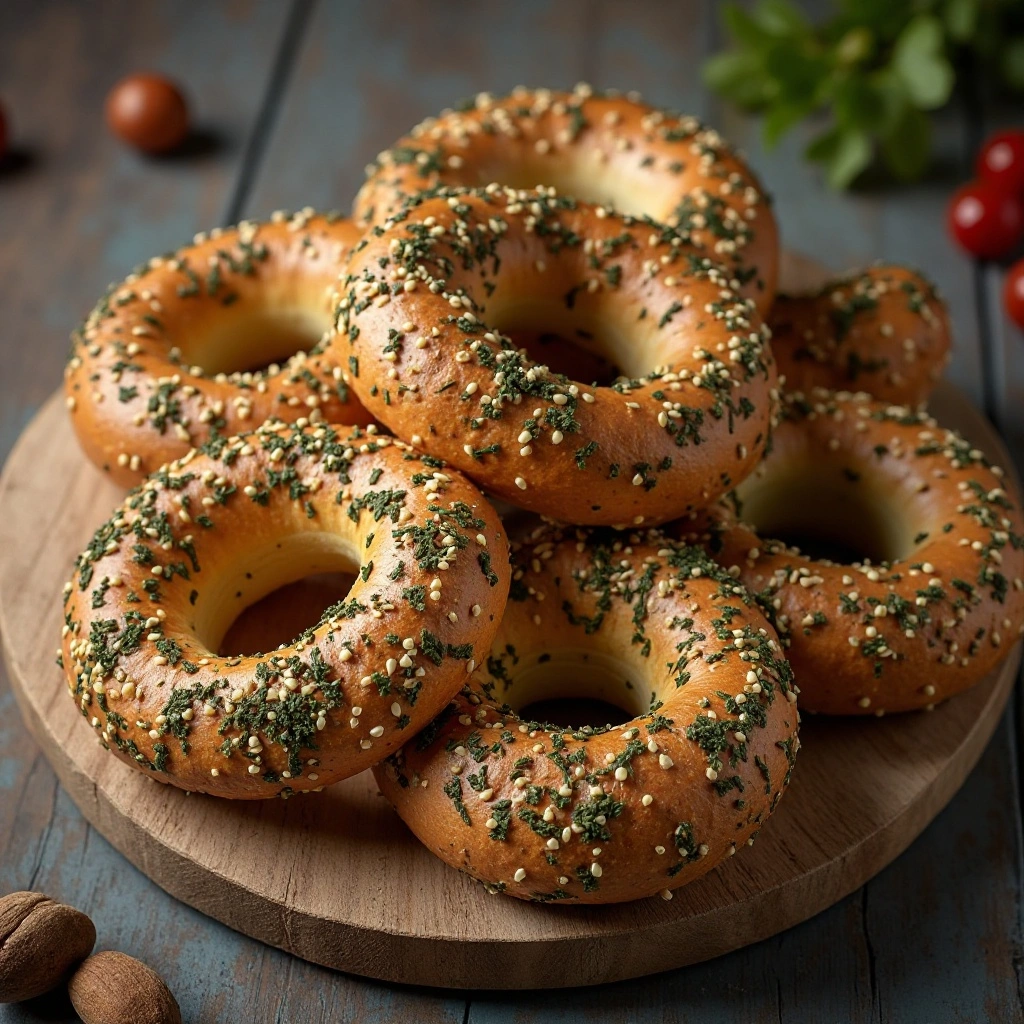
10. Garlic Herb Bagels
Mix 3 cloves of minced garlic and 2 tablespoons of mixed dried herbs (basil, oregano, parsley) into the dough. After boiling, brush with olive oil and sprinkle with more herbs and garlic powder. These are pizza-adjacent in the best way possible!
Common Baking Mistakes to Avoid
Mistake #1: Over-Hydrating the Dough
Many people add too much water trying to make the dough easier to work with. Bagel dough should be stiff! If you can easily knead it without any effort, it’s probably too wet. Your finished bagels will spread out flat instead of staying round and plump.
Mistake #2: Under-Kneading
Bagels need serious gluten development for that chewy texture. If you under-knead, your bagels will be crumbly and fall apart. Knead for the full 10-12 minutes, even if your arms get tired!
Mistake #3: Letting Them Rise Too Long
Unlike bread, bagels shouldn’t be super puffy before baking. Over-proofing creates large air pockets and a bread-like texture rather than dense and chewy. Watch the time carefully during both rises.
Mistake #4: Boiling Too Long
More than 2 minutes total boiling time (1 minute per side) makes bagels too thick and tough. Stick to the timing!
Mistake #5: Baking at Too Low a Temperature
Bagels need high heat to develop that golden crust. Don’t reduce the oven temperature thinking they’ll bake more evenly—they’ll just dry out instead.
Mistake #6: Making the Holes Too Small
This is the most common beginner mistake! Those holes will shrink by at least half during boiling and baking. Start with holes that look comically large—trust the process.
Mistake #7: Using Old Sourdough Discard
While sourdough discard can sit in the fridge for a week or two, really old discard (dark liquid on top, strong alcohol smell) won’t contribute good flavor. Use discard that’s no more than 1 week old for best results.
Mistake #8: Crowding the Boiling Pot
Boil only 2-3 bagels at a time. Crowding drops the water temperature too much, and they won’t cook evenly. Be patient!
Frequently Asked Questions
Can I make these bagels without yeast?
While the sourdough discard adds flavor, you still need yeast for proper rise in this recipe. The discard alone won’t leaven the bagels in a reasonable timeframe. However, you could make fully fermented sourdough bagels using active starter, but that requires 8-12 hours of fermentation time.
How much sourdough discard should I use?
One cup (240g) is the perfect amount. This provides tangy flavor without making the dough too acidic. If you want to use more discard, you’ll need to adjust the flour and water ratios accordingly.
Can I use whole wheat flour instead of bread flour?
You can substitute up to half the bread flour with whole wheat flour. Using 100% whole wheat will make very dense, heavy bagels that lack the classic chewy texture. A 50/50 blend gives you great flavor with better texture.
Why are my bagels flat instead of puffy?
This usually happens because the dough was too wet, wasn’t kneaded enough, or was over-proofed. Make sure your dough is stiff, knead it well, and watch the rising times carefully.
Can I make the dough ahead of time?
Yes! After the first rise, you can cover the dough and refrigerate it overnight. The next day, let it come to room temperature for 30 minutes before shaping. You can also shape the bagels and refrigerate them overnight, then boil and bake them in the morning.
Do I have to add honey or sugar to the boiling water?
The sweetener helps with browning and adds a subtle sweetness to the crust. You can skip it if you prefer, but your bagels won’t have that beautiful golden shine.
How do I know when my bagels are fully baked?
They should be deep golden brown on top and sound hollow when you tap the bottom. If you have an instant-read thermometer, the internal temperature should reach 200-210°F.
Can I make mini bagels?
Absolutely! Divide the dough into 16 pieces instead of 8-10. Reduce boiling time to 30 seconds per side and baking time to 15-18 minutes. Mini bagels are perfect for kids’ lunchboxes!
Why do my toppings fall off?
Make sure you’re applying toppings immediately after boiling while the bagels are still wet. Press them gently into the surface. If they’re still falling off, brush the tops with a beaten egg white before adding toppings.
Can I add the mix-ins to all the dough or should I divide it first?
It depends on what you’re adding! For items like cheese or jalapeños, you can add them to the whole batch. For things like blueberries or chocolate chips that might make some people unhappy, divide the dough first and mix into individual portions.
Nutrition Information (Per Plain Bagel)
| Nutrient | Amount |
|---|---|
| Calories | 210 |
| Total Fat | 2g |
| Saturated Fat | 0g |
| Cholesterol | 0mg |
| Sodium | 480mg |
| Total Carbohydrates | 42g |
| Dietary Fiber | 2g |
| Sugars | 3g |
| Protein | 7g |
Note: Nutrition information is approximate and will vary based on specific ingredients and toppings used.
There you have it—your complete guide to turning sourdough discard into incredible bagels! Whether you stick with classic everything seasoning or venture into creative territory with jalapeño cheddar or chocolate chip varieties, these bagels are guaranteed to become a staple in your baking rotation.
The beauty of this recipe is its flexibility. Once you master the basic technique, you can customize endlessly to suit your family’s tastes. My kids request these every weekend now, and honestly, I love having a reason to use up my discard without an ounce of guilt.
Remember, the key to perfect bagels lies in that stiff dough, proper boiling, and high-heat baking. Don’t rush the process, and don’t be discouraged if your first batch isn’t perfect. Like sourdough bread itself, bagel-making is a skill that improves with practice.
So grab that jar of discard from your fridge, dust off your apron, and get ready to fill your kitchen with the most amazing aroma. Your family will think you’ve opened a bagel shop in your home! Happy baking!