Fluffy Sourdough Discard Cheese Scones – So Easy
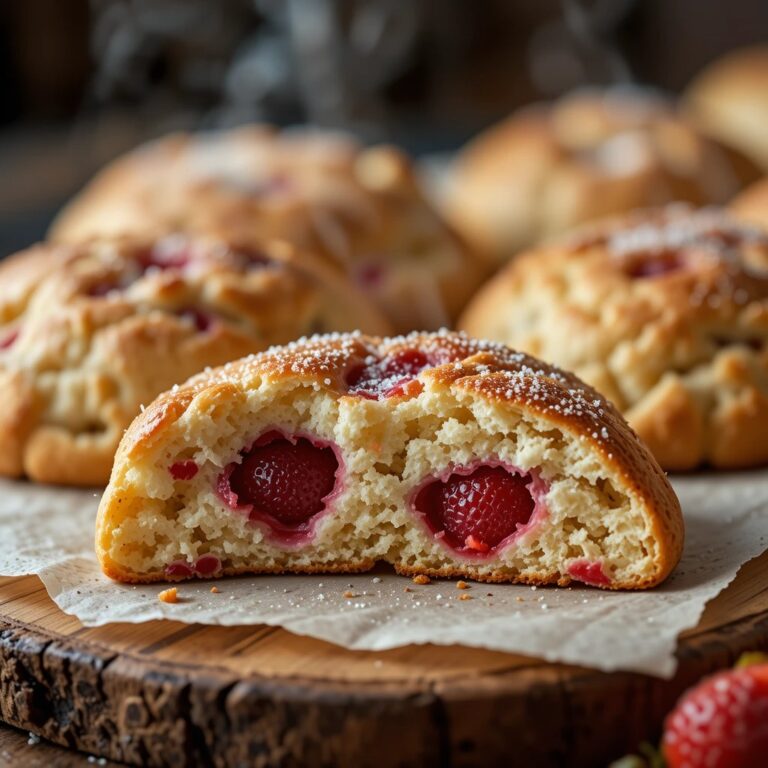
There’s something magical about pulling warm, golden sourdough discard cheese scones from the oven while their buttery aroma fills your kitchen. These tender, flaky beauties transform your leftover sourdough starter into something extraordinary.
I stumbled upon this recipe during my early sourdough journey when I couldn’t bear wasting another cup of starter. Now, they’re my weekend ritual and my family’s favorite breakfast treat that disappears within minutes!
What Are Sourdough Discard Cheese Scones?
Ever wondered why we call them “discard” scones when there’s nothing disposable about their incredible flavor? Here’s the delicious truth: these scones give your unfed sourdough starter a second life as a tender, tangy baking marvel. The starter adds subtle complexity that regular scones simply can’t match.
You know the saying, “the way to a man’s heart is through his stomach”? Well, these cheesy wonders prove it every single time. Trust me, once you taste that perfect balance of sharp cheddar with sourdough tang, you’ll never see your starter discard the same way again!
Why You’ll Love This Sourdough Discard Cheese Scones Recipe
Zero Waste, Maximum Flavor
The star of this recipe is your sourdough discard, turning what you’d normally throw away into something spectacular. Unlike plain cheese scones, these have a subtle tanginess that makes each bite more interesting. The sourdough adds depth without overpowering the buttery, cheesy goodness we all crave.
Budget-Friendly Baking
Making sourdough discard cheese scones at home costs a fraction of what you’d pay at a bakery. You’re already maintaining your starter, so why not use every bit? With basic pantry staples and some good cheese, you’ll create bakery-quality scones that taste like a million bucks. If you enjoyed my buttermilk biscuits recipe, you’ll love how these scones take that tender texture to the next level with added sourdough character.
Customizable and Crowd-Pleasing
Sharp cheddar creates that classic savory punch, but you can experiment with gruyere, parmesan, or even add herbs like rosemary or chives. The beauty lies in their versatility. Serve them for breakfast with eggs, as a lunch side, or alongside soup for dinner. These scones adapt to whatever your taste buds desire.
Ready to transform your sourdough discard into golden, cheesy perfection? Let’s get baking!
How to Make Sourdough Discard Cheese Scones
Quick Overview
These sourdough discard cheese scones come together surprisingly fast for such impressive results. The dough requires minimal handling, which keeps the texture light and flaky. You’ll love how the sourdough discard adds moisture and tang while the cold butter creates those coveted layers. The cheese melts into golden, crispy edges that crackle when you bite into them.
Time Breakdown:
- Prep Time: 15 minutes
- Chill Time: 15 minutes
- Bake Time: 18-22 minutes
- Total Time: 50 minutes
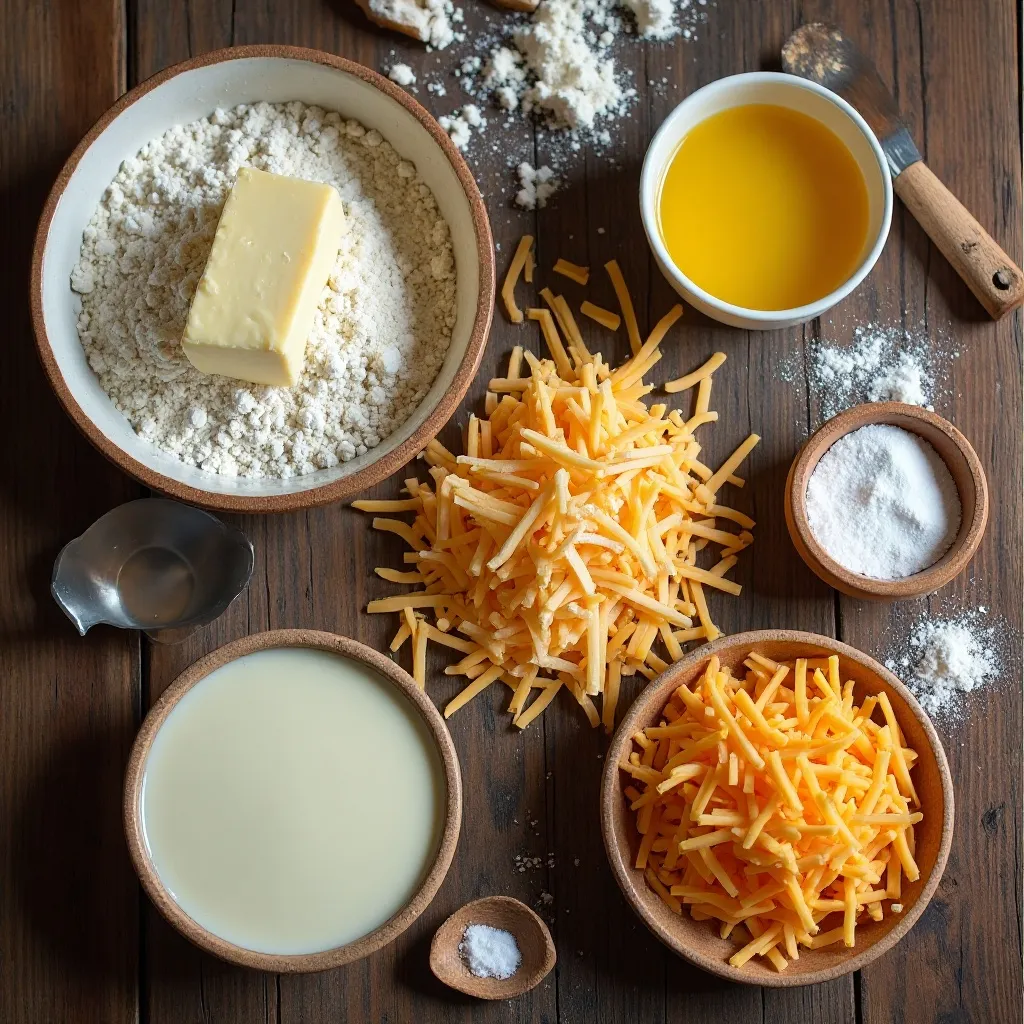
Key Ingredients for Sourdough Discard Cheese Scones
Dry Ingredients:
- 2 cups (240g) all-purpose flour
- 1 tablespoon baking powder
- 1/2 teaspoon baking soda
- 1 teaspoon salt
- 1/4 teaspoon black pepper (freshly ground is best)
- 1/4 teaspoon garlic powder (optional, but recommended)
Wet Ingredients:
- 1 cup (227g) sourdough discard (unfed, straight from the fridge)
- 1/2 cup (120ml) cold heavy cream, plus extra for brushing
- 1 large egg
Mix-Ins:
- 6 tablespoons (85g) cold unsalted butter, cubed
- 1 1/2 cups (170g) sharp cheddar cheese, shredded (divided)
Pro tip: Save some cheese for topping to create those irresistible crispy cheese edges!
Step-by-Step Instructions
Step 1: Prepare Your Ingredients
Start by gathering all your ingredients and measuring them accurately. Cut your cold butter into small cubes and return it to the refrigerator until needed. Shred your cheddar cheese if you haven’t already. Using freshly shredded cheese instead of pre-shredded makes a noticeable difference in both melt and flavor. Preheat your oven to 425°F (220°C) and line a baking sheet with parchment paper.
Step 2: Mix the Dry Ingredients
In a large mixing bowl, whisk together the flour, baking powder, baking soda, salt, black pepper, and garlic powder. Whisking helps distribute the leavening agents evenly, which means every scone will rise beautifully. This step takes just a minute but ensures consistent results.
Step 3: Cut in the Butter
Add your cold butter cubes to the flour mixture. Using a pastry cutter or your fingertips, work the butter into the flour until the mixture resembles coarse breadcrumbs with some pea-sized butter pieces remaining. These butter chunks are your secret weapon for flaky layers. The cold butter creates steam pockets during baking, resulting in that perfect tender texture. This should take about 3-4 minutes. Don’t overwork it – a few larger butter pieces are fine.
Step 4: Add the Cheese
Stir in 1 1/4 cups of the shredded cheddar cheese, reserving the remaining 1/4 cup for topping. Toss the cheese with the flour mixture to coat each shred. This coating prevents the cheese from clumping together and ensures even distribution throughout your scones.
Step 5: Combine Wet Ingredients
In a separate bowl, whisk together the sourdough discard, cold heavy cream, and egg until smooth and well combined. The mixture should be slightly thick but pourable. Your sourdough discard doesn’t need to be active or bubbly – unfed discard from the fridge works perfectly.
Step 6: Bring the Dough Together
Make a well in the center of your dry ingredients. Pour the wet mixture into the well. Using a fork or wooden spoon, gently stir everything together until the dough just comes together. The dough will look shaggy and slightly sticky – this is exactly what you want. Resist the urge to overmix, as this develops gluten and creates tough scones instead of tender ones.
Step 7: Shape the Dough
Turn the dough out onto a lightly floured surface. With floured hands, gently pat the dough into a circle about 1 inch thick and 8 inches in diameter. If the dough feels too sticky, dust with a tiny bit more flour, but try to handle it minimally. The less you work the dough, the flakier your scones will be.
Step 8: Cut the Scones
Using a sharp knife or bench scraper, cut the circle into 8 equal wedges, like cutting a pizza. For a cleaner cut, wipe your knife between each slice. Carefully transfer each wedge to your prepared baking sheet, spacing them about 2 inches apart. The scones will expand during baking, so give them room to breathe.
Step 9: Chill the Scones
This step is crucial but often skipped. Place your baking sheet with the shaped scones in the refrigerator for 15 minutes. This rest time allows the butter to firm up again, which creates better layers and prevents the scones from spreading too much during baking. Use this time to clean up your work area or prepare any accompaniments.
Step 10: Add the Finishing Touches
Remove the scones from the refrigerator. Brush the tops generously with heavy cream using a pastry brush. This creates a beautiful golden color and slight sheen. Sprinkle the reserved 1/4 cup of cheese over the tops of each scone, pressing gently so it adheres. This topping cheese gets wonderfully crispy and adds extra flavor.
Step 11: Bake to Golden Perfection
Bake in your preheated 425°F oven for 18-22 minutes, until the scones are golden brown and the cheese on top is bubbling and slightly crispy. The bottoms should be golden, not pale. If you’re unsure, lift one scone gently to check the bottom. They should feel firm to the touch, not squishy.
Step 12: Cool and Serve
Remove from the oven and let the scones cool on the baking sheet for 5 minutes. This brief rest allows them to set properly. Then transfer to a wire rack. These sourdough discard cheese scones are absolutely divine served warm when the cheese is still melty and gooey. However, they’re also delicious at room temperature.

What to Serve Sourdough Discard Cheese Scones With
These versatile scones pair beautifully with so many dishes. For breakfast, serve them alongside scrambled eggs, crispy bacon, or a vegetable frittata. The savory, cheesy flavor complements egg dishes perfectly.
For lunch or dinner, they’re wonderful with hearty soups like tomato basil, broccoli cheddar, or creamy potato soup. The scones become the perfect vessel for soaking up every last drop.
Spread them with softened butter, herb butter, or even cream cheese for an indulgent treat. They also shine on a brunch spread with fresh fruit, yogurt, and honey.
For a simple snack, enjoy them plain with a cup of hot tea or coffee. The sourdough tang pairs surprisingly well with both beverages.
Consider serving them with a fresh green salad for a light meal, or alongside roasted vegetables and grilled chicken for a complete dinner.
Top Tips for Perfecting Sourdough Discard Cheese Scones
Keep Everything Cold
Temperature is critical for flaky scones. Use cold butter, cold cream, and cold sourdough discard straight from the refrigerator. If your kitchen is warm, chill your bowl and even your flour for 15 minutes before starting. Cold ingredients mean the butter won’t melt into the flour before baking, which creates those desirable flaky layers.
Don’t Overmix the Dough
Once you add the wet ingredients to the dry, mix only until just combined. The dough should look rough and shaggy. Overmixing develops gluten, which makes scones tough and dense instead of light and tender. A few flour streaks are perfectly fine.
Use Sharp Cheddar for Best Flavor
While any cheddar works, sharp or extra-sharp varieties provide much more flavor impact. The aging process concentrates the cheese’s flavor, so you get more taste with the same amount. Pre-shredded cheese contains anti-caking agents that can affect melting, so shred your own block of cheese for superior results.
Measure Sourdough Discard by Weight
Sourdough discard consistency varies depending on your feeding ratio and hydration level. Measuring by weight (227g) ensures accuracy regardless of how thick or thin your discard is. If you must use volume, make sure your discard has a thick, pancake batter consistency.
Cut, Don’t Twist
When cutting scones with a biscuit cutter, press straight down without twisting. Twisting seals the edges and prevents proper rising. The same applies when cutting wedges – use a clean, decisive motion.
Space Them Properly
Leave at least 2 inches between scones on your baking sheet. They will expand during baking, and proper spacing ensures even browning and proper air circulation around each scone.
Watch for Doneness
Oven temperatures vary, so start checking at 18 minutes. The scones should be deeply golden, not pale. The cheese on top should be bubbling and starting to brown. An undercooked scone will be doughy inside, so err on the side of slightly darker rather than lighter.
Storing and Reheating Tips
Room Temperature Storage: Freshly baked sourdough discard cheese scones stay fresh at room temperature for up to 2 days when stored in an airtight container or zip-top bag. Place a paper towel in the bottom of the container to absorb any excess moisture, which helps maintain their texture.
Refrigerator Storage: For longer storage, refrigerate the scones in an airtight container for up to 5 days. The cool temperature prevents the cheese from spoiling while keeping the scones fresh. Bring them to room temperature before serving, or reheat them for the best experience.
Freezing Instructions: These scones freeze beautifully for up to 3 months. Let them cool completely first, then wrap each scone individually in plastic wrap. Place the wrapped scones in a freezer-safe bag, removing as much air as possible. Label with the date so you remember when you froze them.
Reheating Methods: To reheat refrigerated scones, wrap them in aluminum foil and warm in a 325°F oven for 10-12 minutes. For frozen scones, let them thaw at room temperature for an hour, then reheat the same way. Alternatively, microwave individual scones for 20-30 seconds, though this won’t restore the crispy exterior. For the crispiest results, unwrap and place directly on an oven rack at 350°F for 5-7 minutes.
Freezing Unbaked Scones: You can also freeze the shaped, unbaked scones. After cutting them into wedges, place on a baking sheet and freeze until solid (about 2 hours). Transfer to a freezer bag and store for up to 2 months. Bake directly from frozen, adding 3-5 extra minutes to the baking time. No need to thaw!
Common Baking Mistakes to Avoid
Using Warm Ingredients
This is the number one mistake that ruins scone texture. Warm butter melts into the dough before baking, eliminating those flaky layers. Always use ingredients straight from the refrigerator.
Overworking the Dough
Handling the dough too much or kneading it like bread creates tough, dense scones. Treat the dough gently and work quickly. The dough should come together with minimal manipulation.
Skipping the Chill Time
Those 15 minutes in the refrigerator aren’t optional. This rest period lets the gluten relax and keeps the butter cold, both essential for tender, tall scones that don’t spread excessively.
Using Old Baking Powder
Baking powder loses potency over time. If yours is older than 6 months, test it by adding a teaspoon to hot water. It should bubble vigorously. Old baking powder means flat, dense scones.
Incorrect Oven Temperature
An oven that’s too cool produces pale, dense scones that spread. Too hot, and the outside burns before the inside cooks. Use an oven thermometer to verify your oven’s accuracy. Most home ovens run 25 degrees off in either direction.
Cutting the Scones Too Thin
Scones under 3/4 inch thick won’t rise properly and will be dry. Aim for 1 inch of thickness for the perfect ratio of crispy exterior to tender interior.
Using Discard That’s Too Thin
Very liquid sourdough discard can make the dough too wet. If your discard is very thin, reduce the cream by 2 tablespoons or add an extra 2 tablespoons of flour to compensate.
Frequently Asked Questions
Can I use sourdough starter instead of discard?
Yes, you can use active sourdough starter instead of discard. The scones will have a slightly more pronounced tangy flavor. Make sure to reduce the liquid (cream) by 1-2 tablespoons, as active starter tends to be more hydrated. The baking powder and baking soda will still do the heavy lifting for leavening, so don’t worry about the starter’s activity level.
Why are my scones spreading instead of rising?
Spreading usually happens when the butter is too warm or the dough wasn’t chilled properly. Make sure all ingredients are cold, handle the dough minimally, and don’t skip the refrigeration step before baking. Also check that your baking powder is fresh and your oven is properly preheated.
Can I make these scones without sourdough discard?
While the sourdough discard adds unique tang and texture, you can substitute it with an equal amount of buttermilk or plain yogurt thinned slightly with milk. The flavor will be different but still delicious. You’ll lose that characteristic sourdough complexity, but the scones will still be tender and cheesy.
How do I know when the scones are done?
Properly baked scones should be deeply golden brown on top and bottom with crispy, bubbling cheese. They should feel firm when gently pressed on top, not soft or squishy. If you’re unsure, insert a toothpick into the thickest part – it should come out clean or with just a few crumbs.
Can I add other ingredients to these scones?
Absolutely! Try adding chopped fresh herbs like rosemary, thyme, or chives. Crumbled cooked bacon makes them extra indulgent. Diced jalapeños add a spicy kick. Just don’t add more than 1/2 cup of additional ingredients, or you’ll upset the dough’s balance.
Why are my scones dry and crumbly?
Dry scones usually result from too much flour, overbaking, or overmixing. Measure flour by spooning it into your measuring cup and leveling off, not scooping. Don’t mix beyond just combined, and remove scones from the oven as soon as they’re golden. Adding an extra tablespoon of cream can also help if you live in a dry climate.
Can I make these scones dairy-free?
For dairy-free sourdough discard cheese scones, replace the butter with cold coconut oil or vegan butter. Use a plant-based cream and your favorite dairy-free cheese. The texture will be slightly different, but they’ll still be delicious. Make sure your sourdough starter is also dairy-free if you have sensitivities.
How far in advance can I prepare the dough?
You can shape the scones and refrigerate them overnight before baking. Cover tightly with plastic wrap so they don’t dry out. Add 2-3 minutes to the baking time since they’ll be extra cold. This makes them perfect for fresh breakfast with minimal morning effort.
Nutrition Information
| Nutrient | Per Scone (1 of 8) |
|---|---|
| Calories | 285 |
| Total Fat | 16g |
| Saturated Fat | 10g |
| Cholesterol | 65mg |
| Sodium | 520mg |
| Total Carbohydrates | 26g |
| Dietary Fiber | 1g |
| Sugars | 1g |
| Protein | 9g |
Nutritional values are approximate and may vary based on specific ingredients used.
Final Thoughts
These sourdough discard cheese scones have become my favorite way to use starter discard. Every time I bake them, I’m reminded that the best recipes often come from making the most of what we have. The subtle tang from the sourdough, combined with sharp cheddar’s richness, creates something truly special.
Whether you’re serving them for a cozy breakfast, alongside your favorite soup, or as a savory snack, these scones deliver comfort and flavor in every bite. The best part? You’ll never feel guilty about maintaining your sourdough starter again.
Give this recipe a try, and watch your sourdough discard transform into golden, cheesy perfection. Your kitchen will smell amazing, and those warm scones won’t last long. Trust me on this one – make a double batch!
Happy baking, and may your scones always be flaky and your cheese always be melty!