Best Sourdough Discard Red Velvet Pancakes Recipe
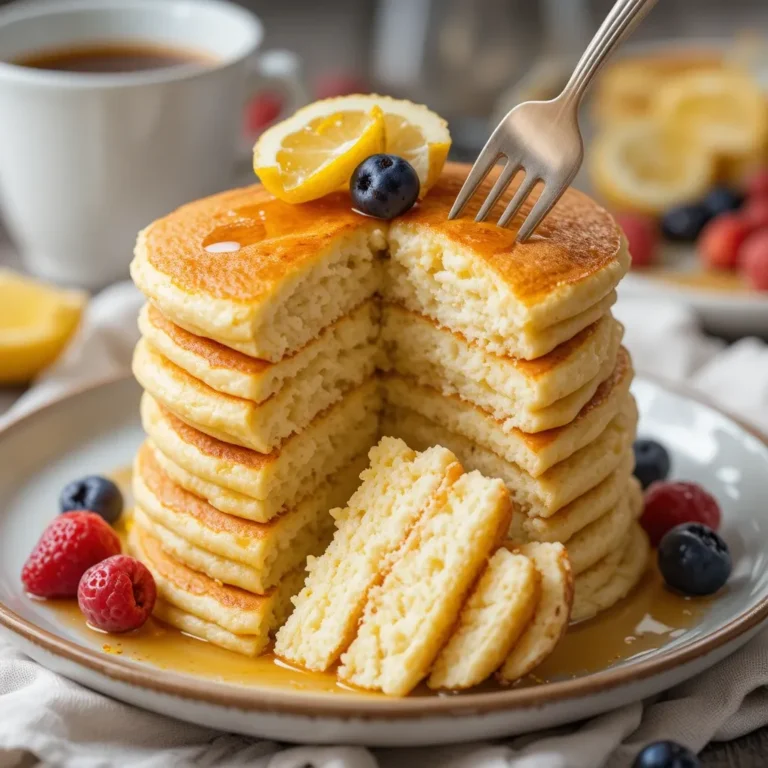
Picture this: fluffy, tangy pancakes with that gorgeous crimson hue and a hint of cocoa. These sourdough discard red velvet pancakes transform your “leftover” starter into something absolutely magical. They’re ridiculously easy to whip up on a lazy weekend morning, and honestly?
They taste like dessert for breakfast—but we won’t tell anyone if you don’t! If you loved my classic buttermilk pancakes, wait until you try this ruby-red twist that’ll have everyone asking for seconds.
What Are Sourdough Discard Red Velvet Pancakes?
Ever wondered what happens when Southern charm meets sourdough magic? That’s exactly what sourdough discard red velvet pancakes are! These beauties combine the tangy goodness of unfed sourdough starter with the classic red velvet flavor we all adore.
Why the fancy name? Because they’re dressed to impress with that signature red color and subtle cocoa undertones. Remember, the way to anyone’s heart is through their stomach—and these pancakes? They’re your golden ticket. Trust me, once you flip your first batch, you’ll never waste sourdough discard again!
Why You’ll Love This Sourdough Discard Red Velvet Pancakes
The Zero-Waste Wonder
Let’s talk about the elephant in the kitchen: that jar of sourdough discard staring at you from the fridge. Instead of feeling guilty about tossing it, you’re about to turn it into breakfast gold! The tangy flavor from the discard adds incredible depth that regular pancakes simply can’t match. It’s like your pancakes went to culinary school overnight.
Budget-Friendly Brilliance
Making these beauties at home costs a fraction of what you’d pay at a trendy brunch spot. We’re talking basic pantry staples plus that discard you already have. No expensive ingredients, no fancy equipment—just good old-fashioned deliciousness that won’t break the bank. Your wallet will thank you, especially if you’re feeding a crowd.
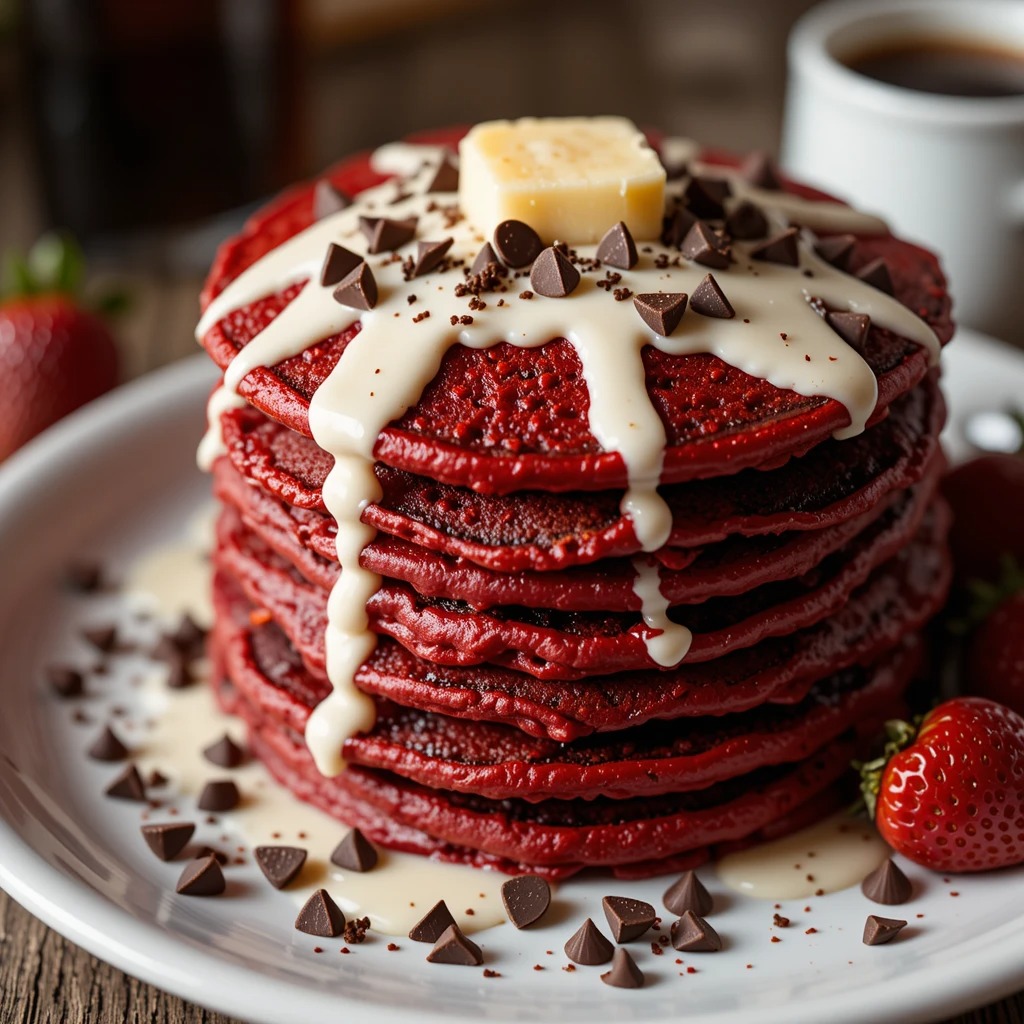
Flavor That Pops
The combination of tangy sourdough, rich cocoa, and vanilla creates this incredible flavor profile that’s both familiar and exciting. Top them with cream cheese glaze, fresh berries, or classic maple syrup, and you’ve got a breakfast that looks and tastes like it came from a five-star restaurant. Speaking of impressive breakfast dishes, if you enjoy these, you’ll absolutely love my sourdough banana bread—another fantastic way to use that discard!
Ready to transform your weekend breakfast game? Let’s dive into making these stunning pancakes that’ll have everyone fighting over the last one!
How to Make Sourdough Discard Red Velvet Pancakes
Quick Overview
These sourdough discard red velvet pancakes are genuinely simple to make, even if you’re not a breakfast pro. The tangy sourdough starter adds moisture and depth, while the cocoa and red coloring create that iconic red velvet appearance.
The texture? Incredibly fluffy with slightly crispy edges. The taste? A perfect balance of sweet and tangy with subtle chocolate notes.
Time Breakdown:
- Prep Time: 10 minutes
- Cook Time: 15 minutes
- Total Time: 25 minutes
- Servings: 12 medium pancakes
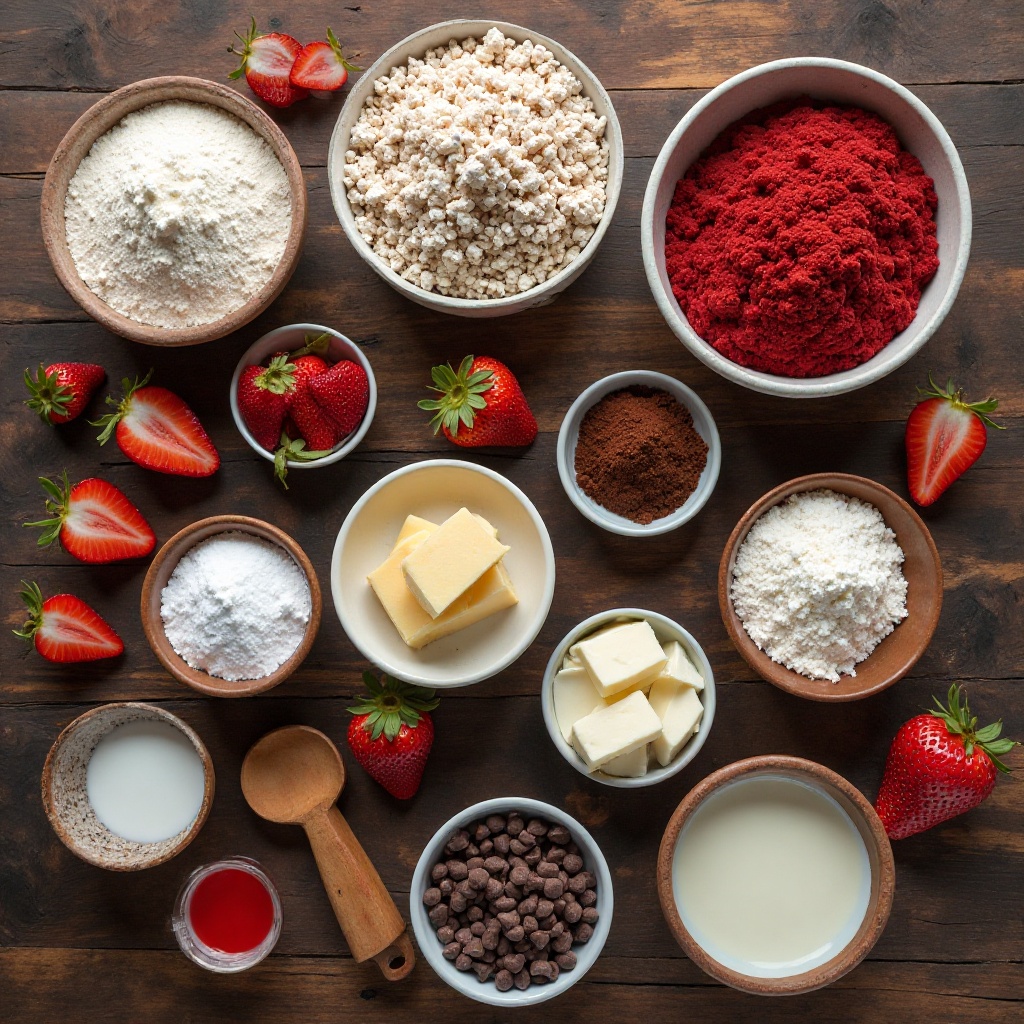
Key Ingredients for Sourdough Discard Red Velvet Pancakes
Dry Ingredients:
- 1½ cups all-purpose flour
- 2 tablespoons cocoa powder (unsweetened)
- 2 tablespoons granulated sugar
- 1 teaspoon baking powder
- ½ teaspoon baking soda
- ½ teaspoon salt
Wet Ingredients:
- 1 cup sourdough discard (unfed, straight from the fridge)
- ¾ cup whole milk (or buttermilk for extra tang)
- 2 large eggs
- 3 tablespoons melted butter
- 1 teaspoon vanilla extract
- 1-2 tablespoons red food coloring (gel works best for vibrant color)
For Cooking:
- Butter or oil for the griddle
Optional Toppings:
- Cream cheese glaze
- Fresh strawberries
- Whipped cream
- Maple syrup
- Chocolate chips
Step-by-Step Instructions
Step 1: Prepare Your Ingredients
Start by taking your sourdough discard out of the fridge. It can be cold—no need to bring it to room temperature. Melt your butter and let it cool slightly so it doesn’t cook the eggs when you mix everything together. Get all your ingredients measured and ready to go. This makes the process super smooth and quick.
Step 2: Mix the Dry Ingredients
In a large mixing bowl, whisk together the flour, cocoa powder, sugar, baking powder, baking soda, and salt. Make sure you break up any cocoa lumps—nobody wants chocolate clumps in their pancakes! The whisking also helps incorporate air, which contributes to fluffier pancakes.
Step 3: Combine the Wet Ingredients
In a separate bowl, add your sourdough discard and break it up with a fork or whisk. Add the milk, eggs, melted butter, vanilla extract, and red food coloring. Whisk everything together until it’s smooth and evenly colored. The mixture should be a gorgeous red color at this point. If you want a deeper red, add a bit more food coloring.
Step 4: Create the Batter
Pour the wet ingredients into the dry ingredients. Using a spatula or wooden spoon, gently fold everything together. Here’s the important part: don’t overmix! Stop as soon as you don’t see any more dry flour streaks. A few lumps are perfectly fine and actually preferred. Overmixing develops the gluten and creates tough, dense pancakes instead of fluffy ones. Let the batter rest for 5 minutes—this allows the flour to fully hydrate and the leavening agents to start working.
Step 5: Heat Your Griddle
Preheat your griddle or large skillet over medium heat. You want it properly heated before you start cooking. Test the temperature by flicking a few drops of water onto the surface—they should sizzle and evaporate quickly. Add a small pat of butter or a light coating of oil to the cooking surface.
Step 6: Cook the Pancakes
Using a ¼ cup measuring cup or ladle, pour the batter onto the hot griddle. Don’t spread it around—let it naturally form a circle. You should be able to fit 3-4 pancakes on a standard griddle. Watch for bubbles to form on the surface and for the edges to look set and slightly dry. This usually takes about 2-3 minutes.
Step 7: Flip and Finish
Once you see those bubbles and the edges look cooked, it’s time to flip! Use a wide spatula and flip confidently in one smooth motion. Cook the second side for another 1-2 minutes until it’s golden brown and cooked through. The second side always cooks faster than the first.
Step 8: Keep Warm and Serve
Transfer cooked pancakes to a plate and keep them warm in a 200°F oven while you finish the rest of the batch. This ensures everyone gets to eat hot pancakes together. Serve immediately with your favorite toppings and watch them disappear!
What to Serve Sourdough Discard Red Velvet Pancakes With
These pancakes are versatile and pair beautifully with both sweet and savory accompaniments. Here are my favorite combinations:
Classic Sweet Options:
- Cream cheese glaze drizzled on top (this is THE classic red velvet pairing)
- Pure maple syrup with a pat of butter
- Fresh strawberries and whipped cream
- Chocolate chips sprinkled while the pancakes are still hot
Protein Additions:
- Crispy turkey bacon strips
- Chicken breakfast sausages
- Scrambled eggs with cheese
Beverages:
- Hot coffee (the bitterness balances the sweetness perfectly)
- Fresh orange juice
- Chai tea latte
- Cold milk for the kids
Complete Breakfast Spread: Serve these pancakes alongside hash browns, fresh fruit salad, and yogurt parfaits for a brunch spread that’ll impress any guest. The red color makes them perfect for Valentine’s Day breakfast or Christmas morning!
Top Tips for Perfecting Sourdough Discard Red Velvet Pancakes
Don’t Overmix the Batter
This is the number one mistake people make with pancakes. When you overmix, you develop too much gluten, resulting in tough, rubbery pancakes. Mix just until the flour disappears. Those small lumps will cook out beautifully.
Use the Right Heat
Medium heat is your sweet spot. Too hot, and the outside burns before the inside cooks. Too low, and you get pale, dense pancakes. The first pancake is always a test—adjust your heat accordingly.
Let the Batter Rest
Those 5 minutes of resting time aren’t optional. This allows the flour to fully absorb the liquid and the leavening agents to start activating. You’ll notice the batter becomes slightly thicker and more cohesive.
Wait for the Bubbles
Patience is key! Don’t flip too early. Wait until you see bubbles forming across the entire surface and the edges look set. Flipping too soon means gummy centers.
Keep Your Discard Consistent
For best results, use discard that’s been fed within the last week. Super old discard (2+ weeks) can develop off flavors. Also, thicker discard works better than super liquidy starter—adjust your milk quantity if needed.
Food Coloring Tips
Gel food coloring provides the most vibrant red without adding extra liquid to your batter. If using liquid food coloring, you might need to reduce the milk slightly. Start with less coloring—you can always add more!
Ingredient Substitutions
No buttermilk? Add 1 tablespoon of white vinegar to regular milk and let it sit for 5 minutes.
Dairy-free? Use almond milk or oat milk and coconut oil instead of butter.
Want them chocolate-ier? Add an extra tablespoon of cocoa powder and a tablespoon of sugar.
Gluten-free option? Use a 1:1 gluten-free flour blend, though texture will be slightly different.
Avoid These Common Mistakes
Mistake 1: Cold griddle – Always preheat properly for even cooking.
Mistake 2: Pressing down on pancakes – This squeezes out air and makes them dense. Let them cook undisturbed!
Mistake 3: Old leavening agents – Check expiration dates on baking powder and baking soda. Old leaveners won’t give you proper rise.
Mistake 4: Inconsistent pancake sizes – Use the same measuring cup for each pancake to ensure even cooking.
Storing and Reheating Tips
Refrigerator Storage
Let your pancakes cool completely before storing. Stack them with parchment paper between each pancake to prevent sticking. Place the stack in an airtight container or zip-top bag. They’ll stay fresh in the refrigerator for 3-4 days.
Freezer Storage
These pancakes freeze beautifully! After cooling completely, arrange them in a single layer on a baking sheet and freeze for 1 hour. This prevents them from sticking together. Then transfer to a freezer-safe bag, removing as much air as possible. They’ll keep for up to 3 months. Label the bag with the date so you remember when you made them.
Reheating Methods
Microwave Method: Place 1-2 pancakes on a microwave-safe plate. Microwave on high for 20-30 seconds until heated through. This is the quickest method but can make them slightly chewy.
Toaster Method: This is my favorite! Pop them in the toaster on medium setting. They come out with crispy edges and a warm, fluffy center. Perfect for busy mornings.
Oven Method: Preheat your oven to 350°F. Arrange pancakes on a baking sheet and cover loosely with foil. Heat for 8-10 minutes. This method works great when reheating multiple pancakes at once.
Skillet Method: Heat a dry skillet over medium-low heat. Warm each pancake for about 1 minute per side. This recreates that fresh-off-the-griddle texture.
Tips for Avoiding Common Baking Mistakes
Temperature Control Issues
Using a pancake griddle or electric skillet with temperature control takes the guesswork out of cooking. If using a regular pan, invest in an infrared thermometer to check surface temperature. The ideal cooking temperature is between 350-375°F.
Batter Too Thick or Too Thin
Batter consistency matters! It should pour easily but not run like water. Think thick cream. If too thick, add milk one tablespoon at a time. If too thin, add flour one tablespoon at a time. Remember, the sourdough discard hydration varies, so adjust accordingly.
Uneven Cooking
Make sure your cooking surface is level. An unlevel griddle causes batter to run to one side, creating misshapen pancakes. Also, avoid opening windows or doors near your cooking area—drafts can cause uneven heat distribution.
Flat Pancakes
If your pancakes aren’t rising properly, check these things: Are your leavening agents fresh? Did you accidentally leave out the baking powder or baking soda? Is your batter overmixed? Did you let the batter sit too long before cooking? (Batter should be cooked within 30 minutes of mixing.)
Color Inconsistency
For even color distribution, make sure to thoroughly mix the food coloring into the wet ingredients before combining with dry ingredients. Streaky red pancakes happen when the coloring isn’t fully incorporated.
Soggy Middles
This usually means your heat is too high, cooking the outside too fast. Lower the temperature and give them more time. Also, ensure you’re not making them too thick—¼ cup of batter creates the perfect thickness.
Frequently Asked Questions
Can I use active sourdough starter instead of discard?
Absolutely! Active starter works just as well. However, it’s best to use discard since you’re already feeding your starter regularly. This recipe is perfect for using up what would otherwise be wasted. Active starter might make your pancakes rise slightly more, but both work beautifully.
How can I make these pancakes without red food coloring?
You can skip the food coloring entirely for “chocolate sourdough pancakes.” They’ll still taste amazing! Some people use beet powder or raspberry powder as natural alternatives, but you’ll need about 2 tablespoons for noticeable color, and it will slightly affect the flavor.
Why are my pancakes turning out flat?
Flat pancakes usually indicate old leavening agents or overmixing. Check the expiration dates on your baking powder and baking soda. Replace them if they’re more than 6 months old. Also, remember to mix gently—stop as soon as the flour is incorporated.
Can I make the batter ahead of time?
For best results, cook the batter within 30 minutes of mixing. The leavening agents start working immediately, and letting it sit too long can result in denser pancakes. However, you can mix your dry ingredients the night before and have your wet ingredients measured and ready to save time in the morning.
What’s the best way to get fluffy pancakes?
Three key factors: Don’t overmix (lumps are okay!), ensure your leavening agents are fresh, and let the batter rest for 5 minutes before cooking. Also, proper cooking temperature is crucial—medium heat allows them to rise properly without burning.
Can I double this recipe?
Yes! This recipe doubles perfectly for feeding a crowd. Just make sure you have enough griddle space to cook them efficiently while they’re all at their peak fluffiness.
My pancakes taste too tangy. What should I do?
The tanginess comes from the sourdough discard. If it’s too strong for your taste, you can reduce the discard to ¾ cup and increase the milk to 1 cup. Alternatively, make sure your discard hasn’t been sitting in the fridge for longer than 2 weeks, as older discard develops stronger sour flavors.
Do these pancakes taste like sourdough bread?
Not really! The sourdough adds a subtle tang that enhances the overall flavor complexity, but the cocoa, vanilla, and sweetness balance it out. Most people don’t even identify it as sourdough unless you tell them!
Nutrition Information
| Nutrient | Per Pancake (1 of 12) |
|---|---|
| Calories | 145 |
| Total Fat | 5g |
| Saturated Fat | 3g |
| Cholesterol | 42mg |
| Sodium | 195mg |
| Total Carbohydrates | 21g |
| Dietary Fiber | 1g |
| Sugars | 4g |
| Protein | 4g |
Note: Nutritional values are approximate and may vary based on specific ingredients used and portion sizes.
These sourdough discard red velvet pancakes are honestly one of my favorite ways to use up extra starter. They’re special enough for celebrations but easy enough for regular weekend mornings.
The vibrant color never fails to make people smile, and that subtle tangy-sweet flavor combination? Absolutely irresistible. Give them a try, and I guarantee they’ll become a regular in your breakfast rotation. Happy cooking!