Quick & Easy Strawberry Banana Bread for Busy Mornings
There’s something magical about the combination of sweet strawberries and ripe bananas baked into a tender loaf. This strawberry banana bread is incredibly moist, bursting with fruity flavor, and so simple to make that you’ll wonder why you haven’t been baking it every week.
I discovered this recipe on a rainy Saturday morning when I had overripe bananas and fresh strawberries that needed to be used quickly. The result?
A family favorite that disappeared within hours! Whether you’re looking for a breakfast treat, afternoon snack, or dessert, this bread checks all the boxes. It’s even better than my classic banana bread recipe because the strawberries add a beautiful pink swirl and extra moisture.
What is Strawberry Banana Bread?
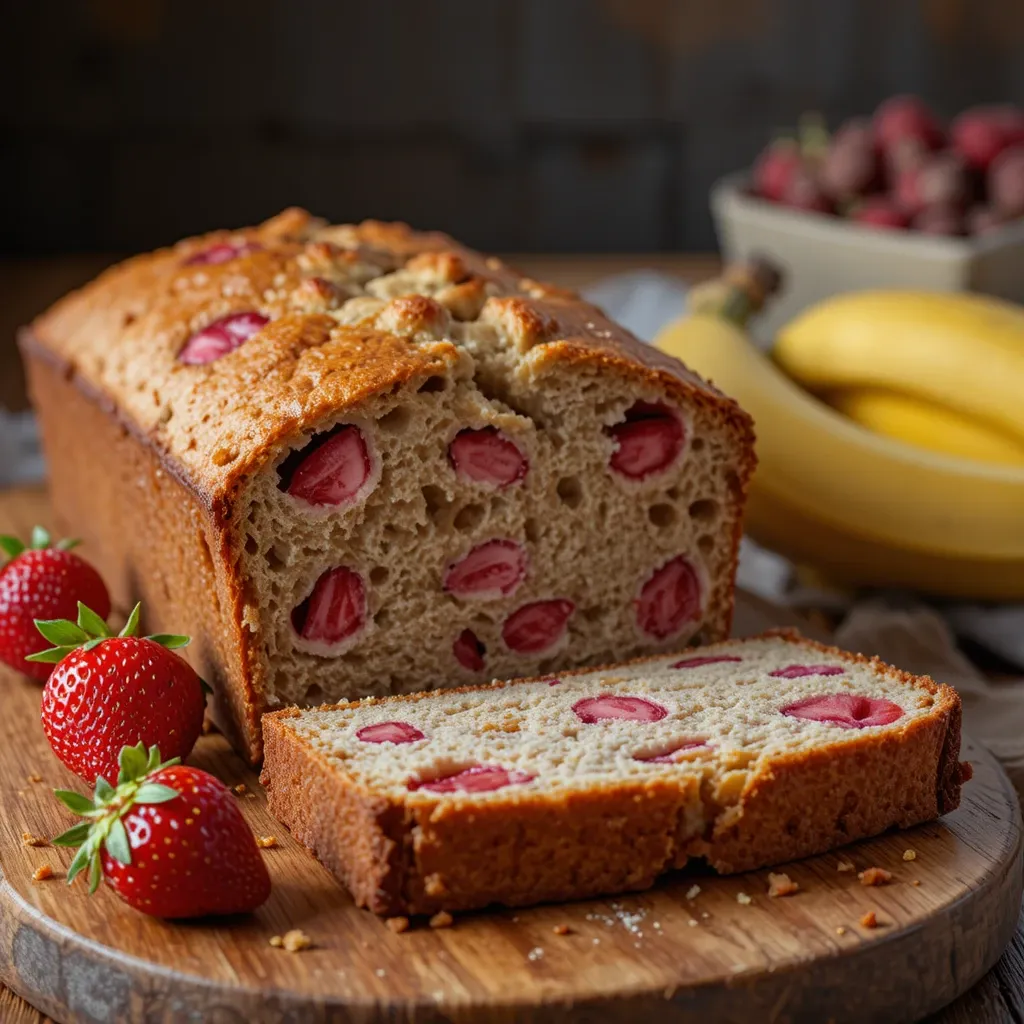
Ever wondered what happens when two of nature’s sweetest fruits join forces in a loaf pan? Magic, that’s what! Strawberry banana bread is essentially the beloved traditional banana bread’s more colorful, fruity cousin. It’s called this because, well, it features both strawberries and bananas as the stars of the show.
The bananas provide natural sweetness and that perfectly dense texture we all crave, while the strawberries bring bursts of juicy flavor and gorgeous color throughout each slice. As they say, the way to anyone’s heart is through their stomach, and this bread proves it every single time!
Why You’ll Love This Strawberry Banana Bread
The Perfect Moisture Level
This isn’t your average quick bread. The combination of mashed bananas and fresh strawberries creates an incredibly moist texture that stays fresh for days. Every bite melts in your mouth with a perfect balance of sweetness and fruity flavor. The strawberries release their natural juices during baking, creating pockets of jammy goodness throughout the loaf. It’s similar to my blueberry muffin recipe in terms of moisture, but somehow even better!
Budget-Friendly Baking
Making strawberry banana bread at home costs a fraction of what you’d pay at a bakery or coffee shop. A single loaf uses simple pantry staples and just two types of fruit. You’re looking at spending around $5-7 for all ingredients, which gives you 10-12 generous slices. Compare that to $4-5 per slice at most cafes, and you’ll see why this recipe is a winner for your wallet.
Customizable and Versatile
The beauty of this bread is how easily you can make it your own. Add chocolate chips for extra indulgence, throw in some chopped walnuts for crunch, or swirl in cream cheese for a tangy twist. You can also adjust the sweetness level based on how ripe your bananas are. Whether you serve it plain, toasted with butter, or topped with cream cheese frosting, it’s absolutely delicious. Don’t wait another day—grab those ripe bananas and fresh strawberries and let’s get baking!
How to Make Strawberry Banana Bread
Quick Overview
This strawberry banana bread comes together in just one bowl with no mixer required. The recipe is incredibly forgiving and perfect for beginner bakers. You’ll love how the natural sweetness from the fruit means you don’t need tons of added sugar. The bread has a tender crumb with a slightly crispy top and edges.
Time Breakdown:
- Prep Time: 15 minutes
- Bake Time: 55-65 minutes
- Cooling Time: 10 minutes
- Total Time: 1 hour 30 minutes
- Yield: 1 loaf (10-12 slices)
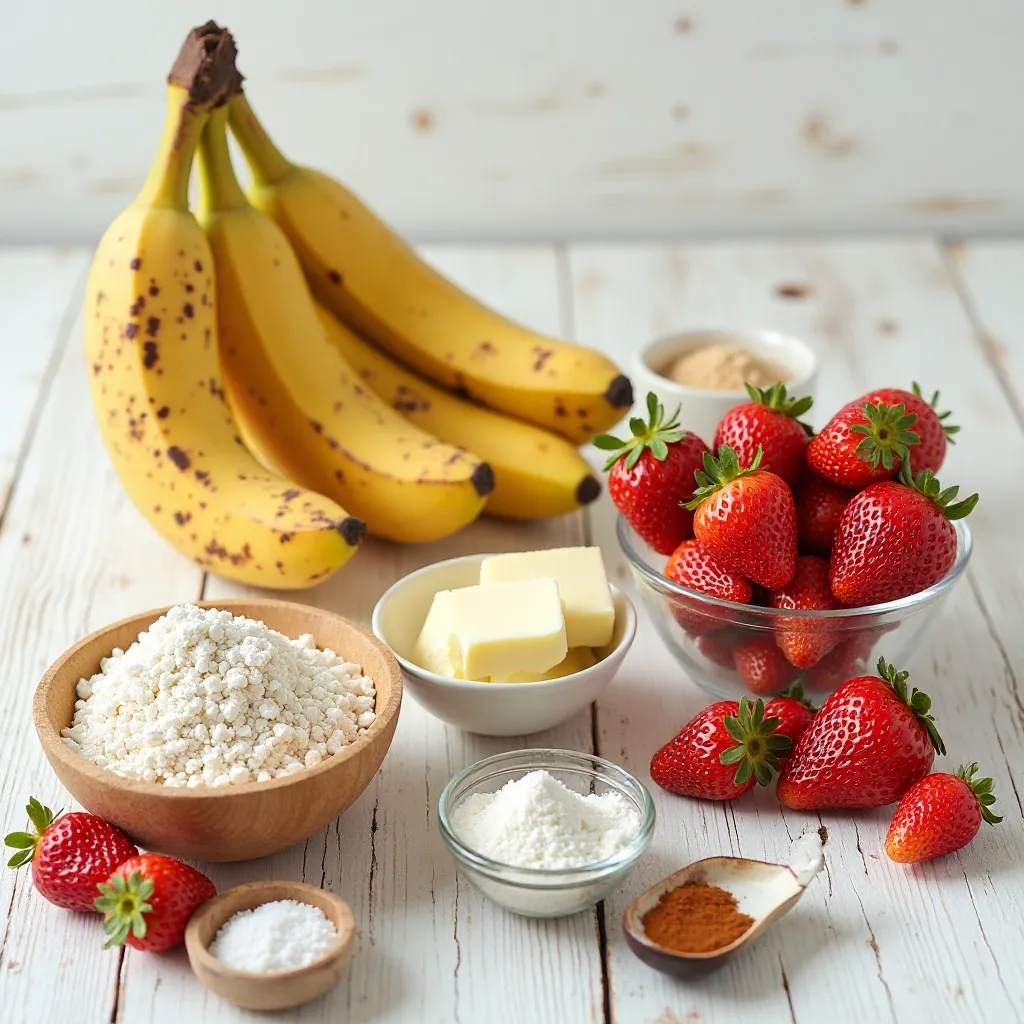
Key Ingredients for Strawberry Banana Bread
Wet Ingredients:
- 3 large ripe bananas (about 1½ cups mashed)
- ⅓ cup melted butter or vegetable oil
- ¾ cup granulated sugar
- 1 large egg, beaten
- 1 teaspoon vanilla extract
- 1 cup fresh strawberries, diced (about 6-8 medium strawberries)
Dry Ingredients:
- 1½ cups all-purpose flour
- 1 teaspoon baking soda
- ½ teaspoon salt
- ½ teaspoon ground cinnamon (optional)
Optional Add-ins:
- ½ cup chocolate chips
- ½ cup chopped walnuts or pecans
- 1 tablespoon lemon zest
Step-by-Step Instructions
Prepare Your Kitchen
Start by preheating your oven to 350°F (175°C). This is crucial because you want the oven at the right temperature when your batter is ready. Grease a 9×5 inch loaf pan with butter or non-stick spray, then lightly dust it with flour. This prevents sticking and ensures your beautiful bread comes out cleanly. You can also line the pan with parchment paper for extra insurance.
Mash the Bananas
Peel your ripe bananas and place them in a large mixing bowl. Use a fork or potato masher to mash them until mostly smooth. Don’t worry if there are a few small lumps—they’ll add nice texture to your bread. The riper your bananas, the sweeter and more flavorful your bread will be. Look for bananas with lots of brown spots on the peel for the best results.
Mix the Wet Ingredients
Add the melted butter to your mashed bananas and stir until well combined. If you’re using oil instead, that works perfectly too. Next, add the sugar and mix vigorously for about 30 seconds. This helps dissolve the sugar slightly and creates a smoother batter. Crack in the egg and add the vanilla extract, then stir everything together until you see a uniform mixture with no streaks of egg remaining.
Prepare the Strawberries
Wash your fresh strawberries thoroughly under cold water and pat them dry with a paper towel. Remove the green tops and dice the strawberries into small pieces, about ¼ to ½ inch cubes. Smaller pieces distribute better throughout the bread. Toss the diced strawberries with one tablespoon of flour in a small bowl. This coating helps prevent them from sinking to the bottom during baking.
Combine Dry Ingredients
In a separate medium bowl, whisk together the flour, baking soda, salt, and cinnamon if using. Whisking aerates the flour and ensures the leavening agent is evenly distributed. This step might seem unnecessary, but it makes a real difference in the texture of your final bread. You want to avoid any pockets of baking soda, which can create an unpleasant metallic taste.
Fold Everything Together
Pour the dry ingredients into the bowl with your wet banana mixture. Using a wooden spoon or rubber spatula, gently fold the ingredients together. The key word here is “gently”—you don’t want to overmix. Stir just until you no longer see dry flour streaks. The batter should still look a bit lumpy, and that’s perfect. Overmixing develops gluten and creates a tough, dense bread instead of a tender one.
Add the Strawberries
Gently fold in your flour-coated strawberries. Distribute them throughout the batter with just a few careful stirs. You want to see strawberry pieces throughout without crushing them. If you’re adding any optional ingredients like chocolate chips or nuts, fold them in at this stage as well. Remember, less stirring is better!
Pour and Smooth
Transfer your batter into the prepared loaf pan. Use your spatula to spread it evenly and smooth the top. Don’t worry if it’s not perfectly smooth—rustic looks beautiful too! You can gently tap the pan on the counter a couple of times to release any air bubbles trapped in the batter.
Bake to Perfection
Place your pan in the center of the preheated oven. Bake for 55 to 65 minutes, or until a toothpick inserted into the center comes out with just a few moist crumbs. The top should be golden brown and spring back lightly when touched. If the top is browning too quickly but the center isn’t done, loosely tent the bread with aluminum foil for the last 15 minutes of baking.
Cool and Serve
Remove the bread from the oven and let it cool in the pan for about 10 minutes. This cooling time lets the structure set, making it easier to remove from the pan without breaking. After 10 minutes, carefully turn the bread out onto a wire rack. Let it cool for at least 30 minutes before slicing—this waiting time is torture, I know, but it prevents the bread from falling apart. Warm bread is delicious, but it slices much cleaner when cooled.
What to Serve Strawberry Banana Bread With
This versatile bread pairs beautifully with so many options! For breakfast, serve it alongside scrambled eggs and fresh fruit for a complete meal. The sweetness of the bread balances perfectly with savory breakfast items.
Spread slices with cream cheese, butter, or your favorite nut butter for an elevated snack. The combination of creamy spread and fruity bread is absolutely divine. I’m particularly fond of almond butter with a drizzle of honey on top.
For afternoon tea or coffee, this bread shines on its own or with a dollop of whipped cream and fresh strawberries on the side. It also makes an excellent dessert when served slightly warm with a scoop of vanilla ice cream.
Try it with Greek yogurt and granola for a protein-packed breakfast parfait alternative. The bread adds natural sweetness while the yogurt provides tang and creaminess.
Top Tips for Perfecting Strawberry Banana Bread
Use Very Ripe Bananas
The secret to incredible banana bread is using bananas that are almost too ripe. Look for peels that are heavily spotted or even completely brown. These bananas are sweeter, more fragrant, and mash more easily. If your bananas aren’t ripe enough, you can speed up the process by placing them in a paper bag for a day or two. In a pinch, you can even bake unpeeled bananas at 300°F for 15 minutes to soften them, though naturally ripened bananas taste better.
Don’t Overmix the Batter
This is the most common mistake in quick bread baking. Once you add the flour, mix just until you can’t see dry flour anymore. The batter should look lumpy and rough—that’s exactly what you want! Overmixing activates the gluten in the flour, resulting in a tough, rubbery texture instead of the tender crumb we’re after. It’s better to have a few flour streaks than to overmix.
Check Doneness Carefully
Every oven bakes differently, so use the toothpick test as your guide rather than relying solely on time. Insert a toothpick or cake tester into the center of the loaf. It should come out with a few moist crumbs attached, but no wet batter. If you see wet batter, bake for another 5 minutes and check again. The top should also be golden brown and spring back when gently pressed.
Let It Cool Completely
I know it’s tempting to slice into that gorgeous loaf right away, but patience pays off! Bread continues to cook slightly as it cools, and the texture firms up perfectly. Cutting too early can result in gummy, unpleasant texture. If you absolutely can’t wait, let it cool for at least 30 minutes at minimum.
Adjust for Strawberry Moisture
Fresh strawberries contain lots of water, which can affect your bread’s texture. If your strawberries seem particularly juicy, pat them extra dry with paper towels before dicing and coating with flour. During peak strawberry season when berries are very sweet and juicy, you might want to reduce added sugar by 2 tablespoons.
Prevent Sinking Fruit
Tossing your strawberries in flour before folding them in isn’t just a suggestion—it’s crucial. The flour coating helps the berries stay suspended in the batter instead of sinking to the bottom. Make sure your batter is thick enough too; a runny batter will always result in sinking fruit.
Room Temperature Ingredients
While not absolutely essential, using room temperature eggs helps them incorporate more smoothly into the batter. Cold eggs can cause the melted butter to solidify into small clumps. If you forget to bring your egg to room temperature, simply place it in a bowl of warm water for 5 minutes before using.
Storing and Reheating Tips
Room Temperature Storage
Your strawberry banana bread will stay fresh at room temperature for 2-3 days when properly stored. Let the bread cool completely first—storing warm bread creates condensation that leads to soggy texture and mold. Wrap the loaf tightly in plastic wrap or aluminum foil, or place slices in an airtight container. Keep it in a cool, dry place away from direct sunlight.
Refrigerator Storage
For longer storage, refrigerate your bread for up to one week. Wrap individual slices in plastic wrap and place them in an airtight container or zip-top bag. This prevents the bread from absorbing refrigerator odors and keeps it from drying out. The strawberries’ moisture helps the bread stay soft even when chilled.
Freezing Instructions
This bread freezes beautifully for up to 3 months! For best results, wrap the completely cooled loaf (or individual slices) tightly in plastic wrap, then wrap again in aluminum foil or place in a freezer-safe zip-top bag. Press out as much air as possible to prevent freezer burn. Label with the date so you know how long it’s been frozen.
Reheating Methods
To reheat refrigerated slices, microwave for 15-20 seconds or toast them lightly for a crispy exterior. Toasting brings out the sweetness and creates wonderful texture contrast. For frozen slices, let them thaw at room temperature for about an hour, or microwave from frozen for 30-40 seconds. You can also thaw the entire loaf overnight in the refrigerator. If you want to serve the whole loaf warm, wrap it in foil and heat in a 300°F oven for about 15-20 minutes.
Common Baking Mistakes to Avoid
Using Underripe Bananas
Green or barely yellow bananas don’t have enough natural sugar or flavor. They’re also harder to mash and create a starchy, unpleasant taste. Always wait until your bananas are well-spotted or brown. If you’re in a hurry, the oven-ripening trick works, but natural ripening is always best for flavor.
Opening the Oven Door Too Early
I know you want to check on your beautiful bread, but resist the urge to open the oven door during the first 40 minutes of baking. Temperature fluctuations can cause the bread to sink in the middle or develop an uneven texture. Only open the door to check doneness during the final 15 minutes.
Using the Wrong Pan Size
A 9×5 inch loaf pan is standard for this recipe. Using a different size will affect baking time and texture. A smaller pan means thicker bread that takes longer to bake, while a larger pan creates a flatter loaf that may dry out. If you must use a different size, adjust baking time accordingly and watch carefully.
Skipping the Flour Coating on Fruit
This step exists for a reason! Uncoated strawberries will sink straight to the bottom, leaving you with a fruit-heavy bottom and plain top. The light flour coating creates just enough friction to help berries stay distributed throughout the batter.
Measuring Flour Incorrectly
Too much flour creates dry, crumbly bread. Too little makes it gummy and dense. The best method is to spoon flour into your measuring cup and level it off with a knife. Never pack it down or scoop directly from the bag, which compacts the flour and gives you more than you need.
Not Greasing the Pan Properly
Even non-stick pans need greasing! Butter or oil alone sometimes isn’t enough, especially with a bread containing fruit and natural sugars that can stick. Use a combination of grease and flour, or line with parchment paper for guaranteed easy release.
Cutting While Still Hot
Hot bread is structurally unstable and will crumble or tear when cut. The starches need time to set and the moisture needs to redistribute throughout the loaf. Patience is your friend here!
Frequently Asked Questions
Can I use frozen strawberries instead of fresh?
Yes, you can use frozen strawberries, but there are important adjustments to make. Thaw them completely and drain excess liquid thoroughly. Pat them very dry with paper towels before chopping and coating with flour. Frozen berries release more moisture than fresh, so your bread may need 5-10 extra minutes of baking time. The texture might also be slightly different, but it will still be delicious.
Why did my bread sink in the middle?
A sunken middle usually means the bread was underbaked, even if the outside looks done. The center needs enough time to set properly. Other causes include opening the oven door too early, too much liquid in the batter, or incorrect oven temperature. Use an oven thermometer to verify your oven’s accuracy, and always do the toothpick test before removing from the oven.
Can I make this bread dairy-free?
Absolutely! Simply replace the butter with an equal amount of vegetable oil, coconut oil, or your favorite dairy-free butter substitute. The bread will be just as moist and delicious. Coconut oil adds a subtle tropical flavor that pairs wonderfully with strawberries and bananas.
How do I know when my bananas are ripe enough?
Perfect bananas for baking have lots of brown spots or are almost completely brown. The peel should be soft, and the fruit inside should be very sweet and easily mashed. If you can smell the banana sweetness without peeling it, it’s ready! Don’t use bananas that are rotting or have mold, but very dark peels are perfect.
Can I reduce the sugar in this recipe?
Yes, you can reduce sugar by up to ¼ cup if your bananas are very ripe and sweet. Keep in mind that sugar isn’t just for sweetness—it also contributes to moisture and texture. Going below ½ cup total sugar may result in drier bread. You could also try substituting half the sugar with honey or maple syrup.
Why is my bread too dense?
Dense bread usually results from overmixing the batter or using too much flour. Make sure you’re measuring flour correctly (spoon and level, don’t pack) and mixing just until combined. Dense texture can also happen if your baking soda is old and has lost its leavening power. Replace baking soda every 6 months for best results.
Can I add other fruits to this recipe?
Yes! Blueberries, raspberries, or diced peaches work wonderfully. Keep the total fruit amount around 1½ cups (bananas plus add-ins). Remember to coat any additional fresh fruit with flour before folding into the batter. You can also add dried fruits like cranberries or raisins, though these don’t need the flour coating.
How can I tell if my bread is done without a toothpick?
Gently press the center of the loaf with your finger. It should spring back slowly and feel firm, not squishy. The edges should have pulled away slightly from the pan sides. You can also use a cake tester or even a piece of uncooked spaghetti! The internal temperature should reach 200-205°F on an instant-read thermometer.
Nutrition Information
| Nutrient | Amount Per Slice |
|---|---|
| Calories | 185 |
| Total Fat | 6g |
| Saturated Fat | 3g |
| Cholesterol | 25mg |
| Sodium | 190mg |
| Total Carbohydrates | 31g |
| Dietary Fiber | 1.5g |
| Sugars | 16g |
| Protein | 3g |
| Vitamin C | 12% DV |
| Potassium | 8% DV |
| Iron | 6% DV |
Based on 12 slices per loaf. Nutritional values are approximate and may vary based on specific ingredients used.
This strawberry banana bread truly is a game-changer for your baking repertoire. The combination of two beloved fruits creates something special that goes beyond ordinary quick breads. Whether you’re baking for your family, bringing treats to a gathering, or simply craving something homemade and comforting, this recipe delivers every single time.
The best part? It gets better the next day as the flavors meld together beautifully. So grab those ripe bananas sitting on your counter and those fresh strawberries from the market, and treat yourself to a slice of pure happiness. Happy baking!